This is the home of my latest project/hobby/obsession, as my awesome boyfriend John and I attempt to build a thriving aquaponics ecosystem in our NYC apartment (and learn a lot about combining nature and tech along the way). Stay tuned, as I’ll be posting regular updates to this page as we progress.
A huge thanks is owed to \Art 🎨 and Cornell Tech 🐻 for their microgrant program that has provided such valuable support to get this project started!
📋 5.20.24 — Planning the design
John and I just graduated and are soon starting our new jobs and moving into a new apartment. With all of these changes, we’ve decided to delay the building process until after our move, but I’ve kept busy reading up on aquaponics design and maintenance. After hours of perusing online videos and articles, sorting through various opinions on Reddit, and talking with local tank enthusiasts, we settled on a few key design choices.
Selecting a media-based, continuous-flow system
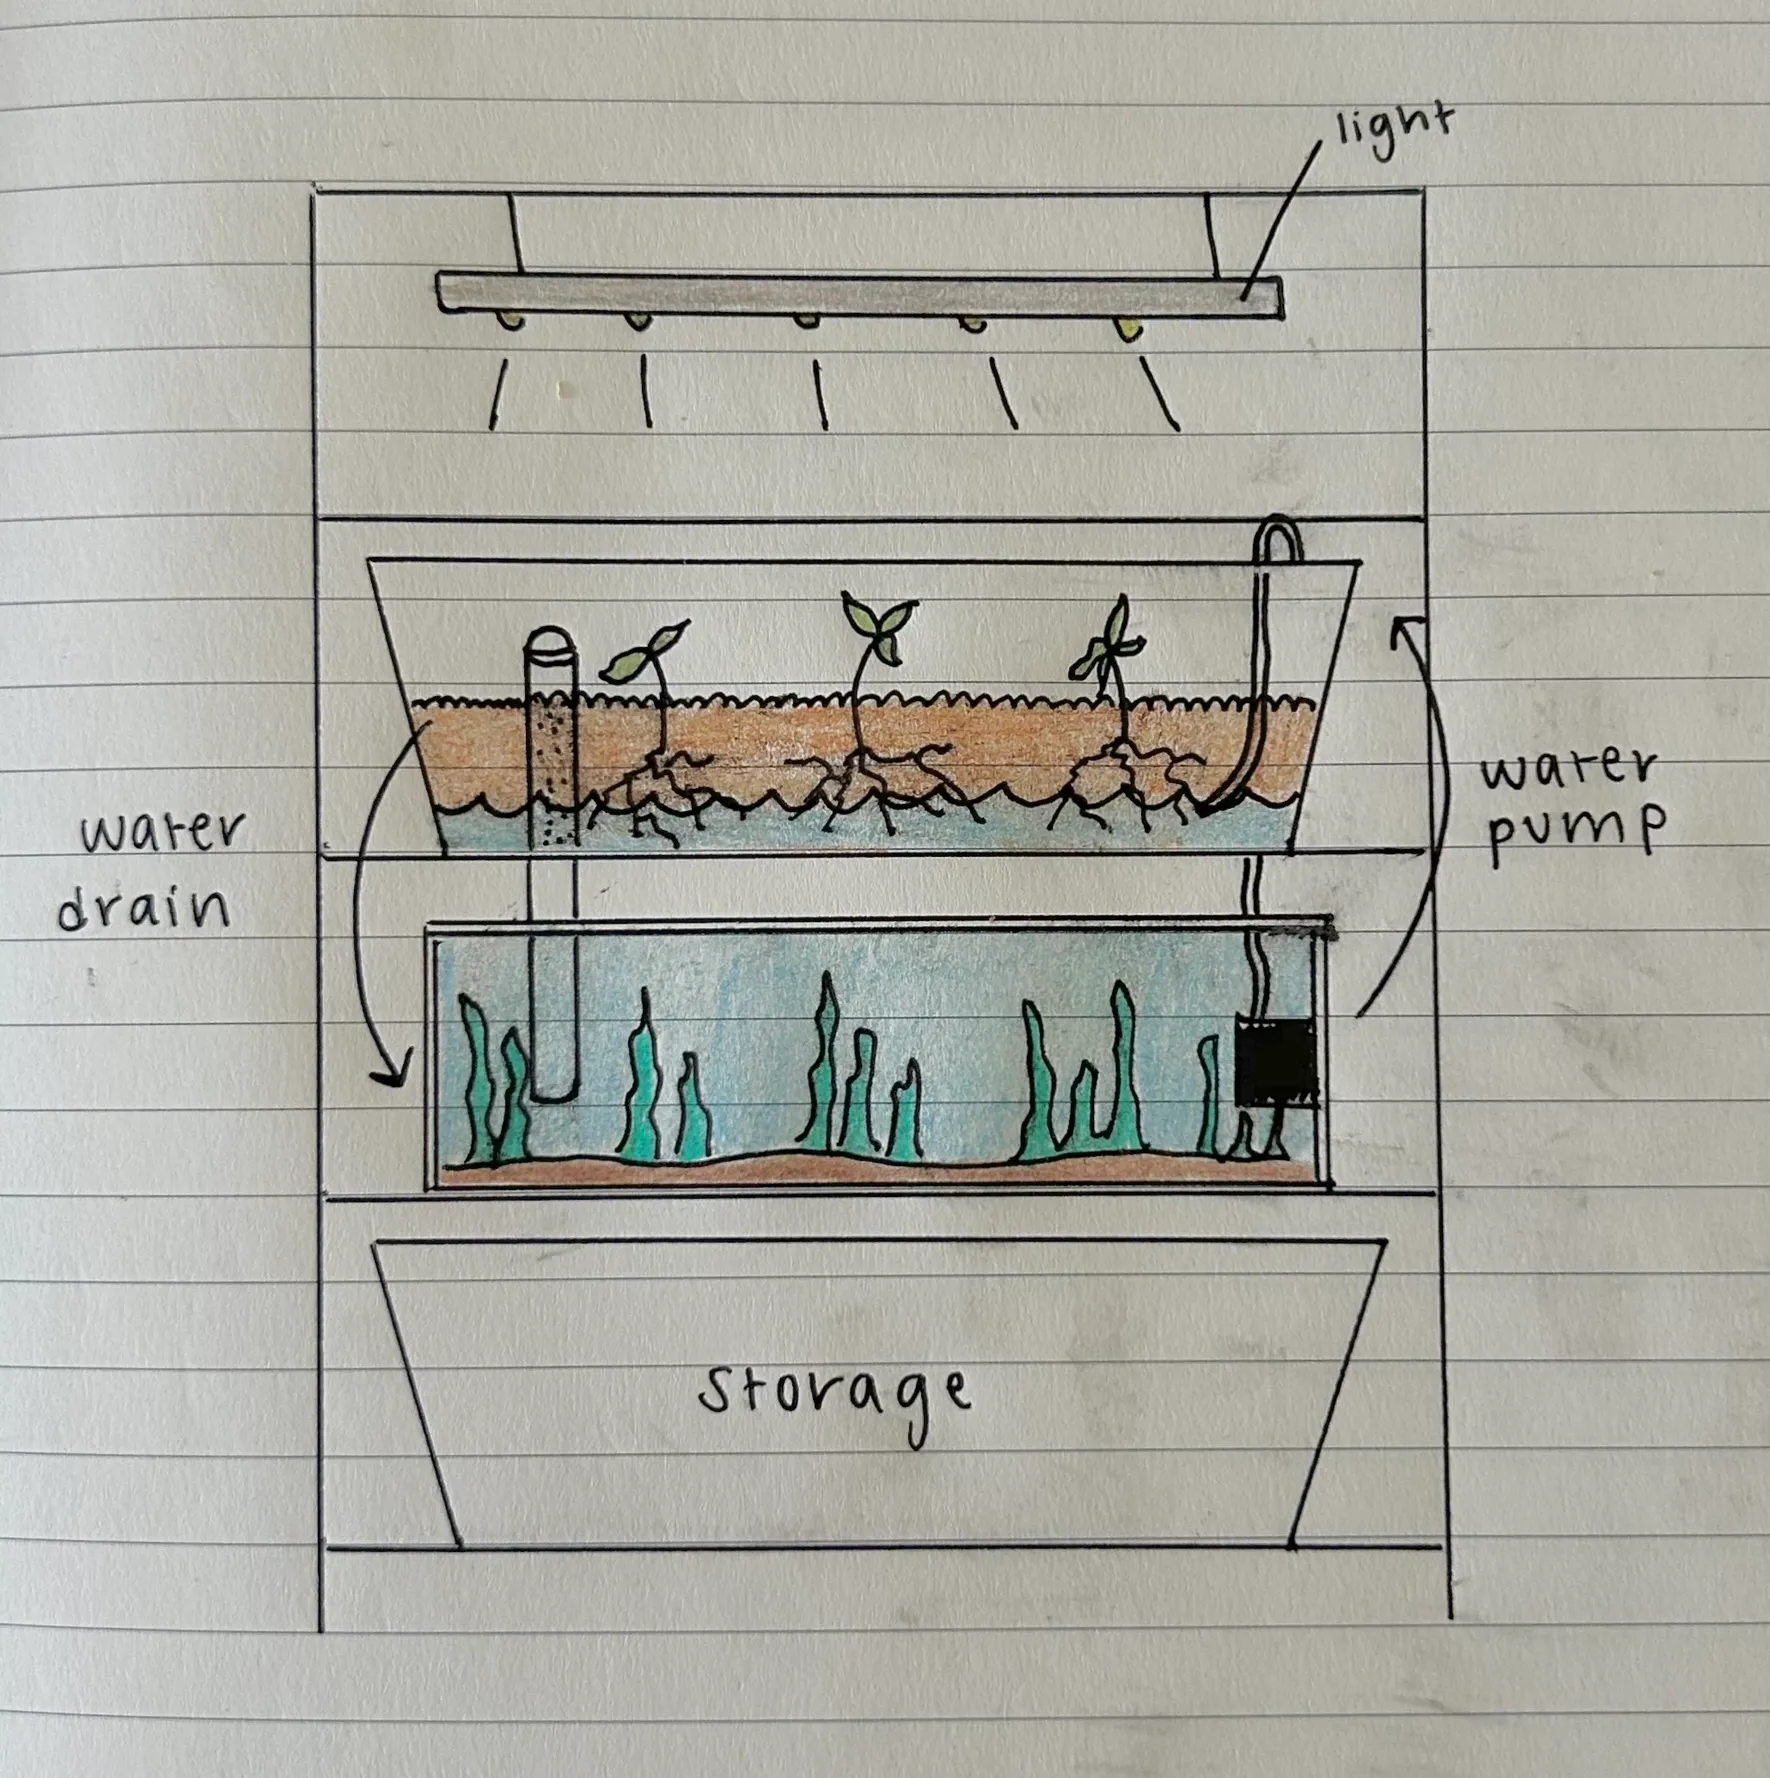
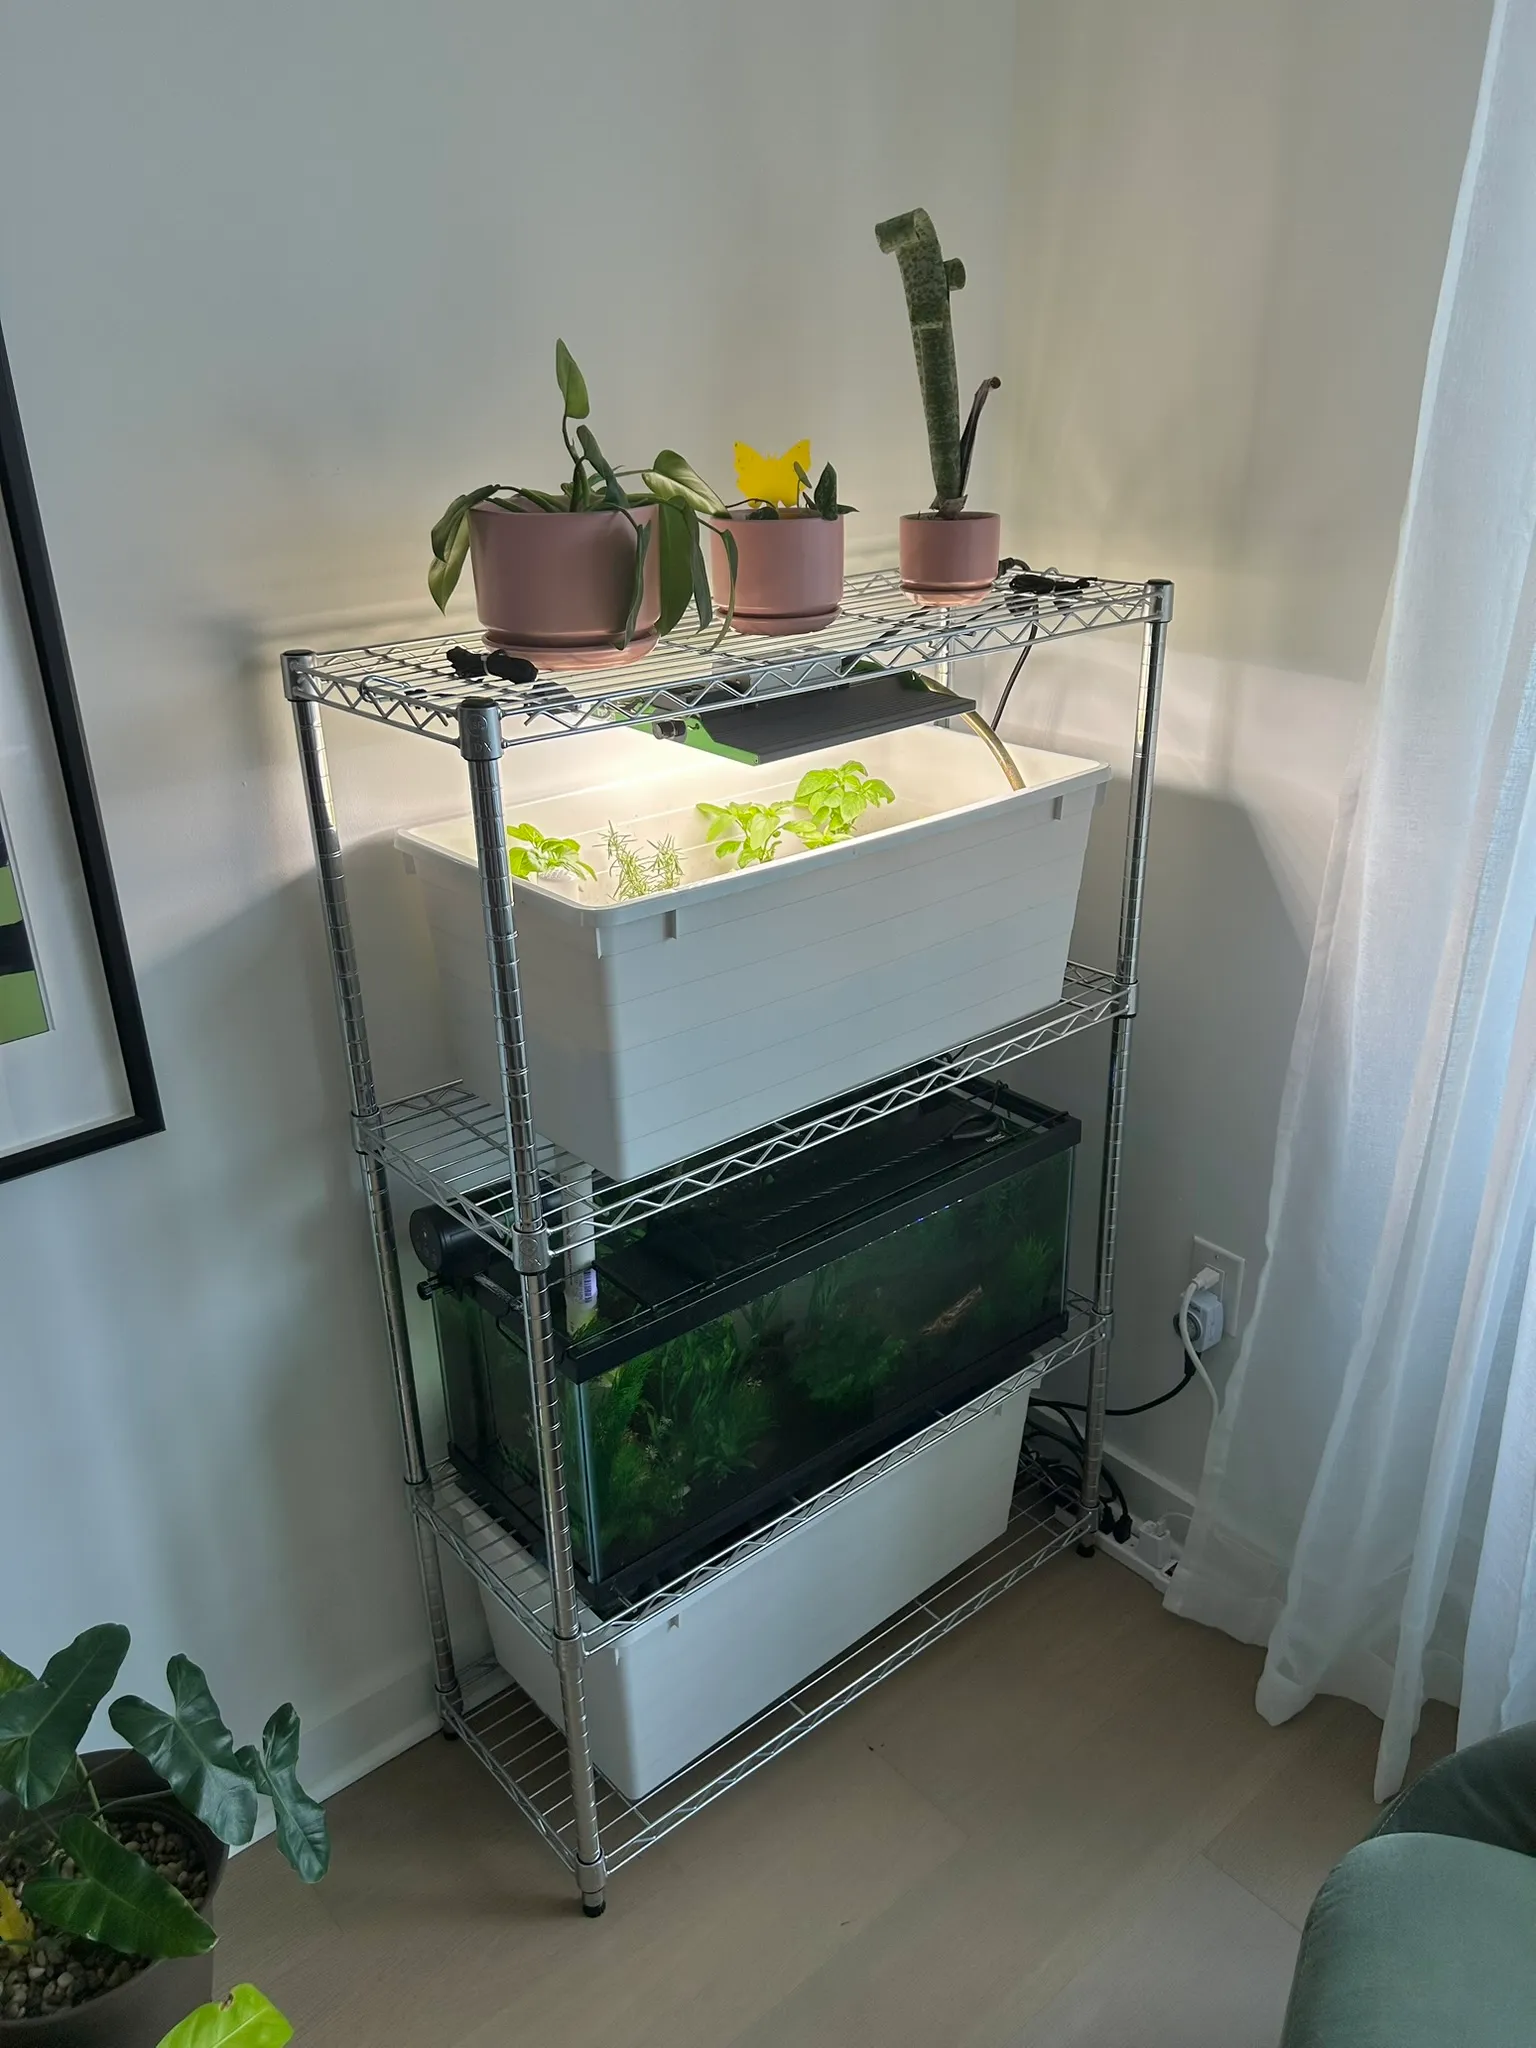
We opted for a media-based aquaponics system, which means our plants are housed in a separate grow-bed filled with clay gravel. Water from the tank is pumped through the clay substrate, where the rooted plants filter out nutrients from the fish waste. Additionally, we opted for a continuous-flow system, which means that water is continuously being cycled from the tank through the bottom few inches of the media bed, before draining out the opposite side of the bed. This is an alternative to a flood & drain system, where a timed pump periodically fills the media bed with water before letting it drain completely. While continuous flow systems are somewhat limited to edible plants that don’t mind a continuous stream of water past their roots, it also provides a much more stable water and nutrient level for the fish living in the tank.
Building vertically
We decided to build a vertical system, where the grow bed of edible plants was placed above the aquatic tank for three primary reasons:
- To conserve the amount of space the system took up in our apartment.
- To reduce the odds of any potential leaks, as water that escapes from the grow bed will fall into the tank below.
- To reduce energy costs, as the water only needs to be pumped a short distance up into the grow bed, and will then be gravity fed back into the tank.
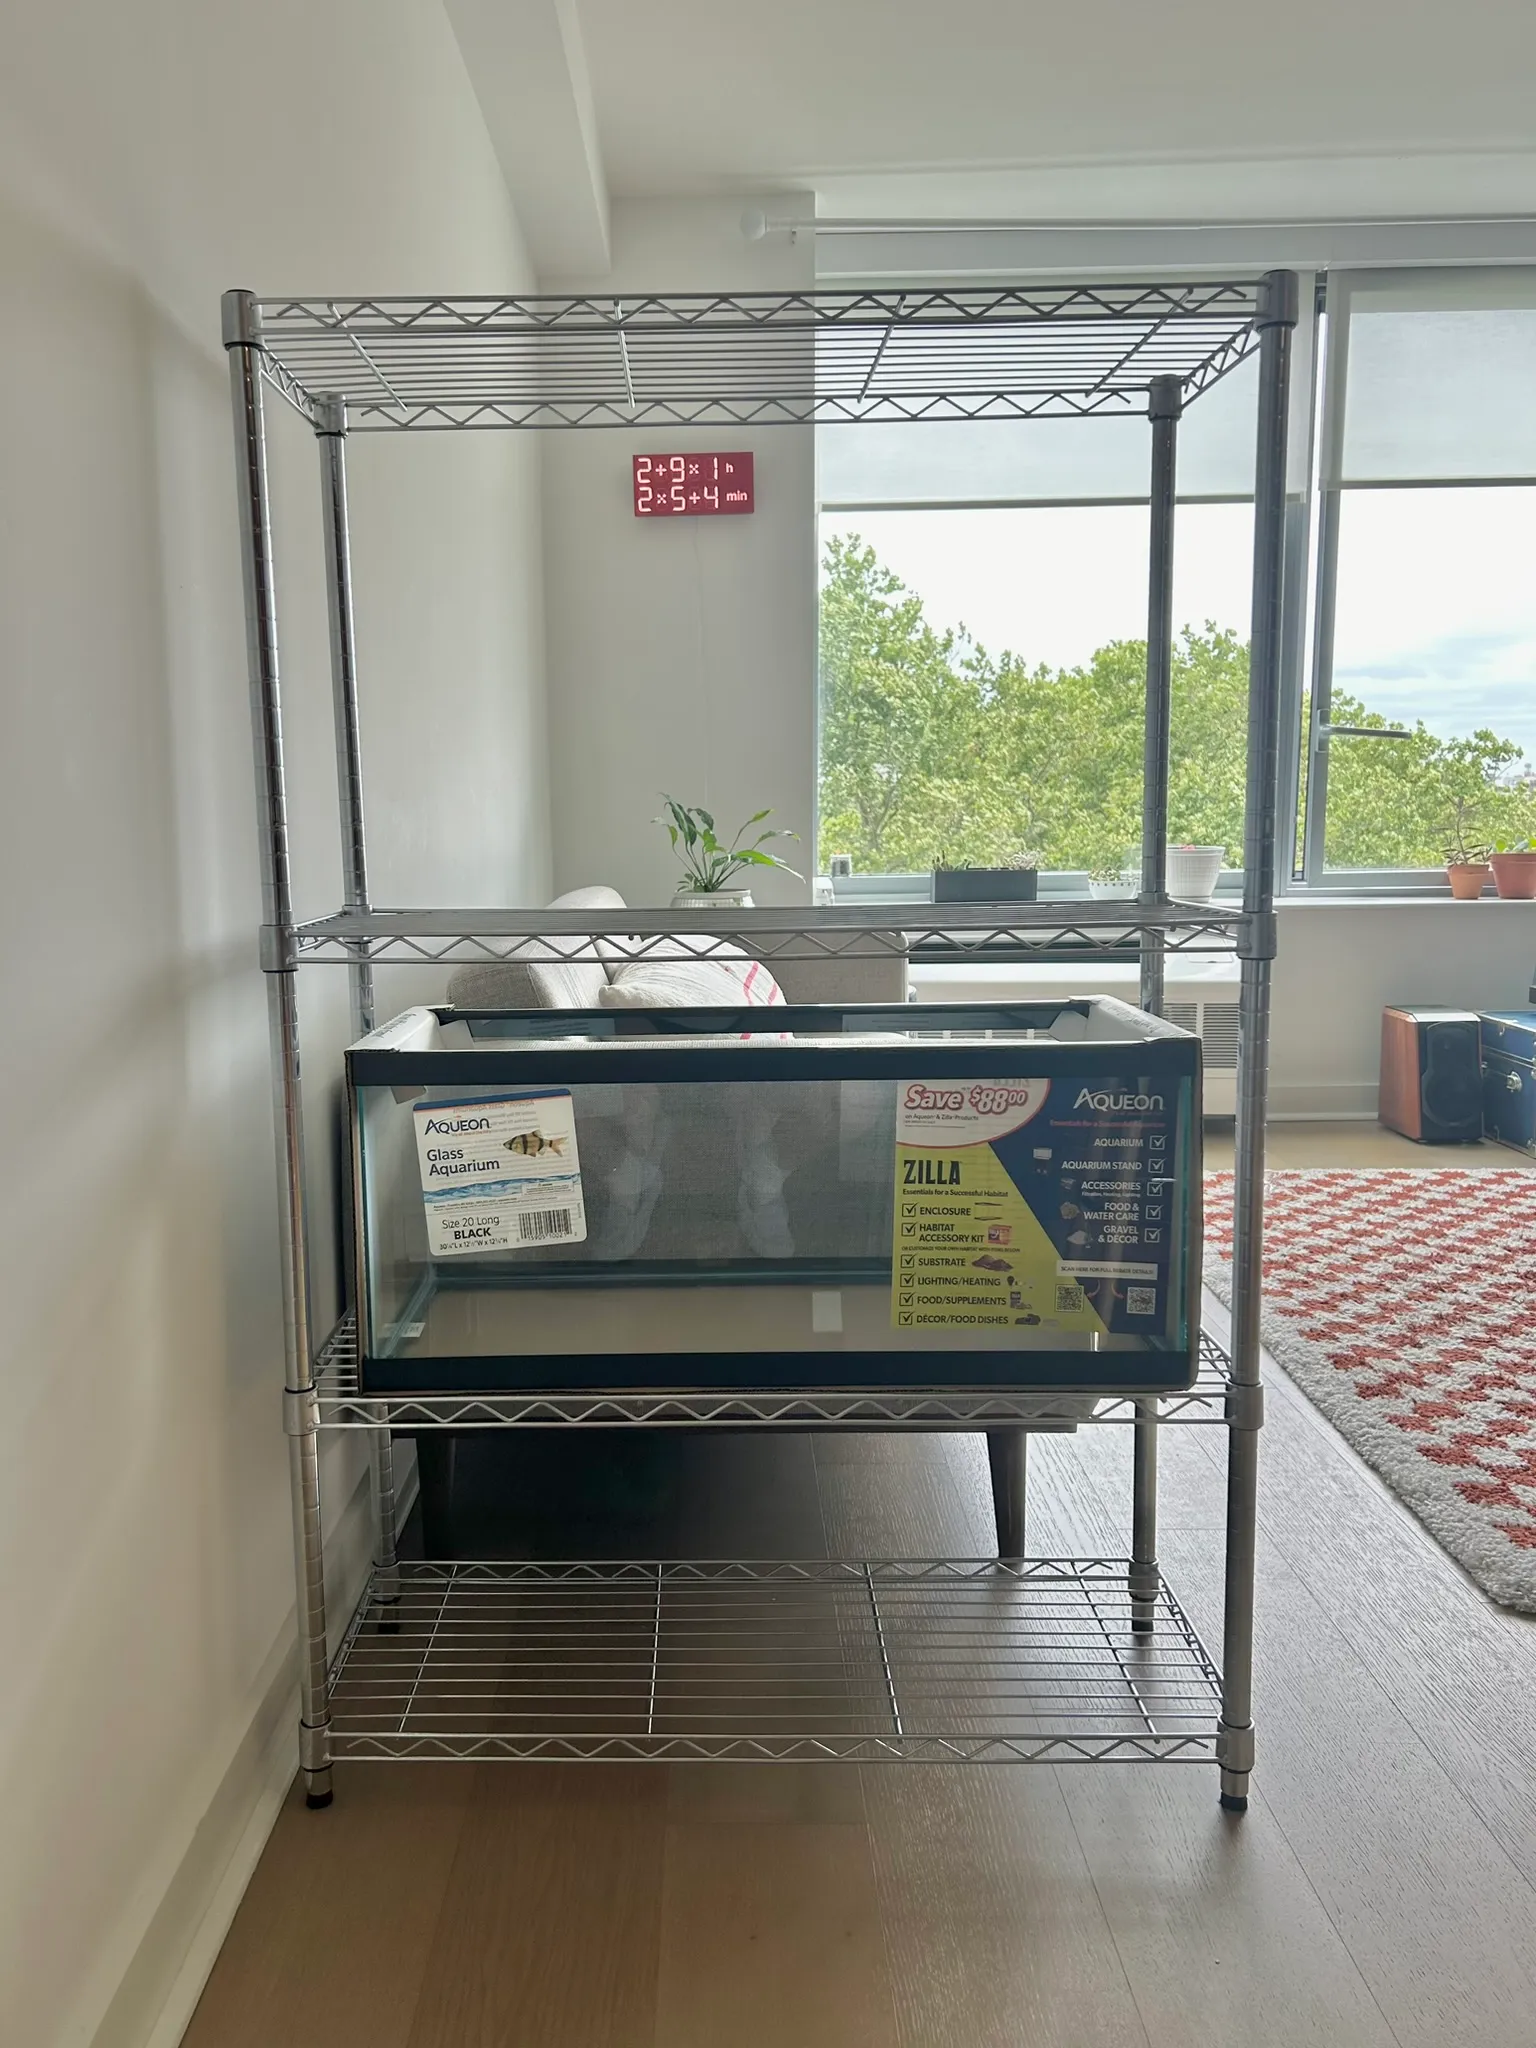
We initially hoped to find or build some sort of wooden cabinet to house the structure, but quickly realized that the weight of the system is much greater than most furniture can hold. Furthermore, tank leaks and failures are almost always caused from the tank being on an uneven surface, so a sturdy & even support structure is essential. However, many commercially-available tank stands only consist of one shelf for a single tank. In our case, we needed to have an equally strong secondary shelf above the tank to hold the grow bed. Ultimately, we decided to use an industrial metal shelf as the foundation of the system.
Limiting the tank size
With similar concerns in mind, we also decided to limit the tank size to 20 gallons, as the grow-bed above also contains an additional 10-15 gallons of water. Since a gallon of fresh water weighs roughly 8.34lbs, this puts the entire weight of the system’s water alone somewhere between 250 and 290lbs. Considering the weight threshold of the industrial shelving, and given that we live on a high floor in our building, we decided to constrain the system to this size for safety & flooding-risks. The tradeoff of this apartment-scale system is that we can only support a grow-bed of about 3 square feet, and are limited to crops with smaller root systems such as greens and herbs.
Starting with fake plants inside the tank
A key goal of our design is to give the fish and other aquatic creatures who live in our tank a safe and enjoyable habitat to live in. With this in mind, we decided to heavily-plant the tank to create lots of places for exploring and hiding. However, we also need enough nutrients to support the edible plants in the grow-bed without over-stocking the tank. Therefore, we have decided to start with fake plants inside of the tank, so that we can create a realistic environment for a small amount of creatures while reserving all of their waste nutrients for the edible plants. With time we may add aquatic plants to the tank, but initially we want to ensure there are enough nutrients to support both the ecosystem’s plants and animals.
💰 6.25.24 — Purchasing components
After finishing the initial planning, it has taken quite a while to find all the right components, in part because we’ve also been busy moving into the new apartment and starting our new jobs. These are all of the initial components we have purchased and their costs.
Structural Components
- 3-shelf Home Depot adjustable metal rack — $165.39
- 2 IKEA Sockerbit bins (grow bed + storage) — $59.98
- 20 gallon long Aqueon tank — $29.99
Building Tools
- 1” x 2’ PVC pipe — $3.14
- 1” male + female PVC adaptors — $4.14
- Diablo 1.25” spade drill bit (already owned a drill) — $6.77
- Everbilt 1/2” x 20’ clear vinyl tubing — $12.97
- Hack saw — $5.47
- Imagitarium filter sponges - $4.99
Digital Components
- Active Aqua 250GPH submersible water pump — $29.35
- VIPARSPECTRA P1000 LED grow light — $64.80
- hygger LED tank light — $42.32
- Aqueon preset 50W heater — $20.99
- Uniclife aerator + air stones — $14.99
Substrates & Decor
- Geolite 45L clay pebbles — $52.87
- Black diamond blasting sand — gifted
- Majoywoo driftwood 12.5-18” 2 pack — $35.26
- MyLifeUnit aquarium plants — $22.85
Food & Water Quality
- API freshwater testing kit — $35.48
- Seachem prime water conditioner — $13.56
- Tetra color tropical flakes — $7.99
Living Components
Total $654.74 + tax
Note — while this is a significant upfront cost, nearly all of the purchases are one-time. So far, the ongoing maintenance costs (added electricity, fish food, additional plants and animals) have been negligible.
🔨 7.18.24 — Putting it all together
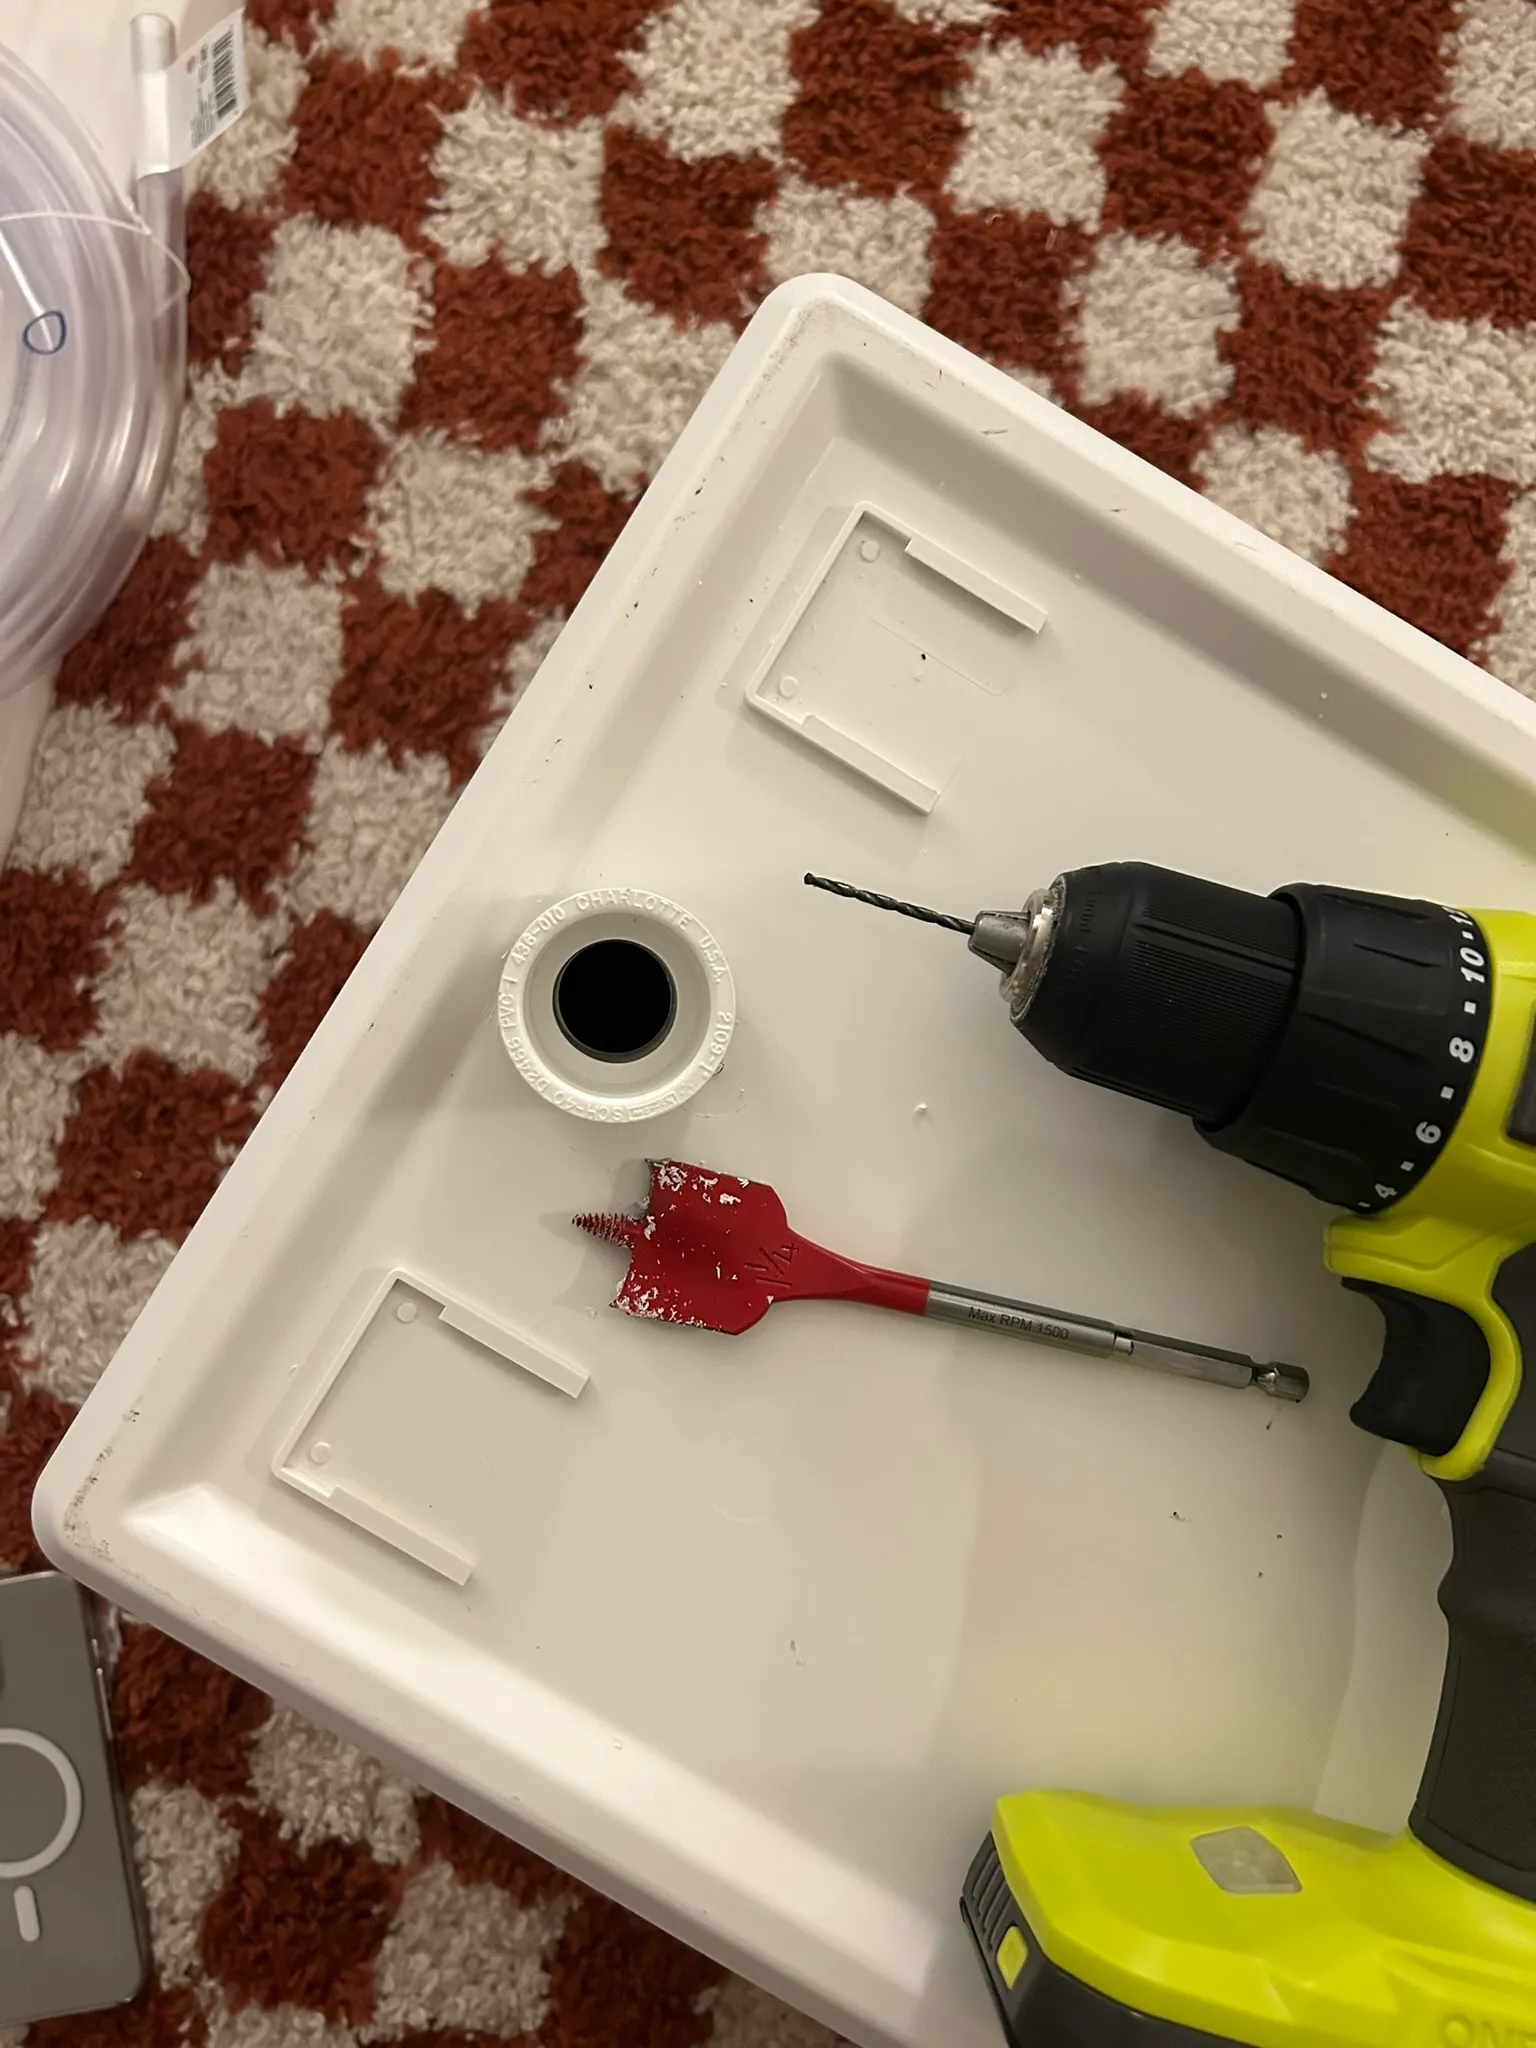
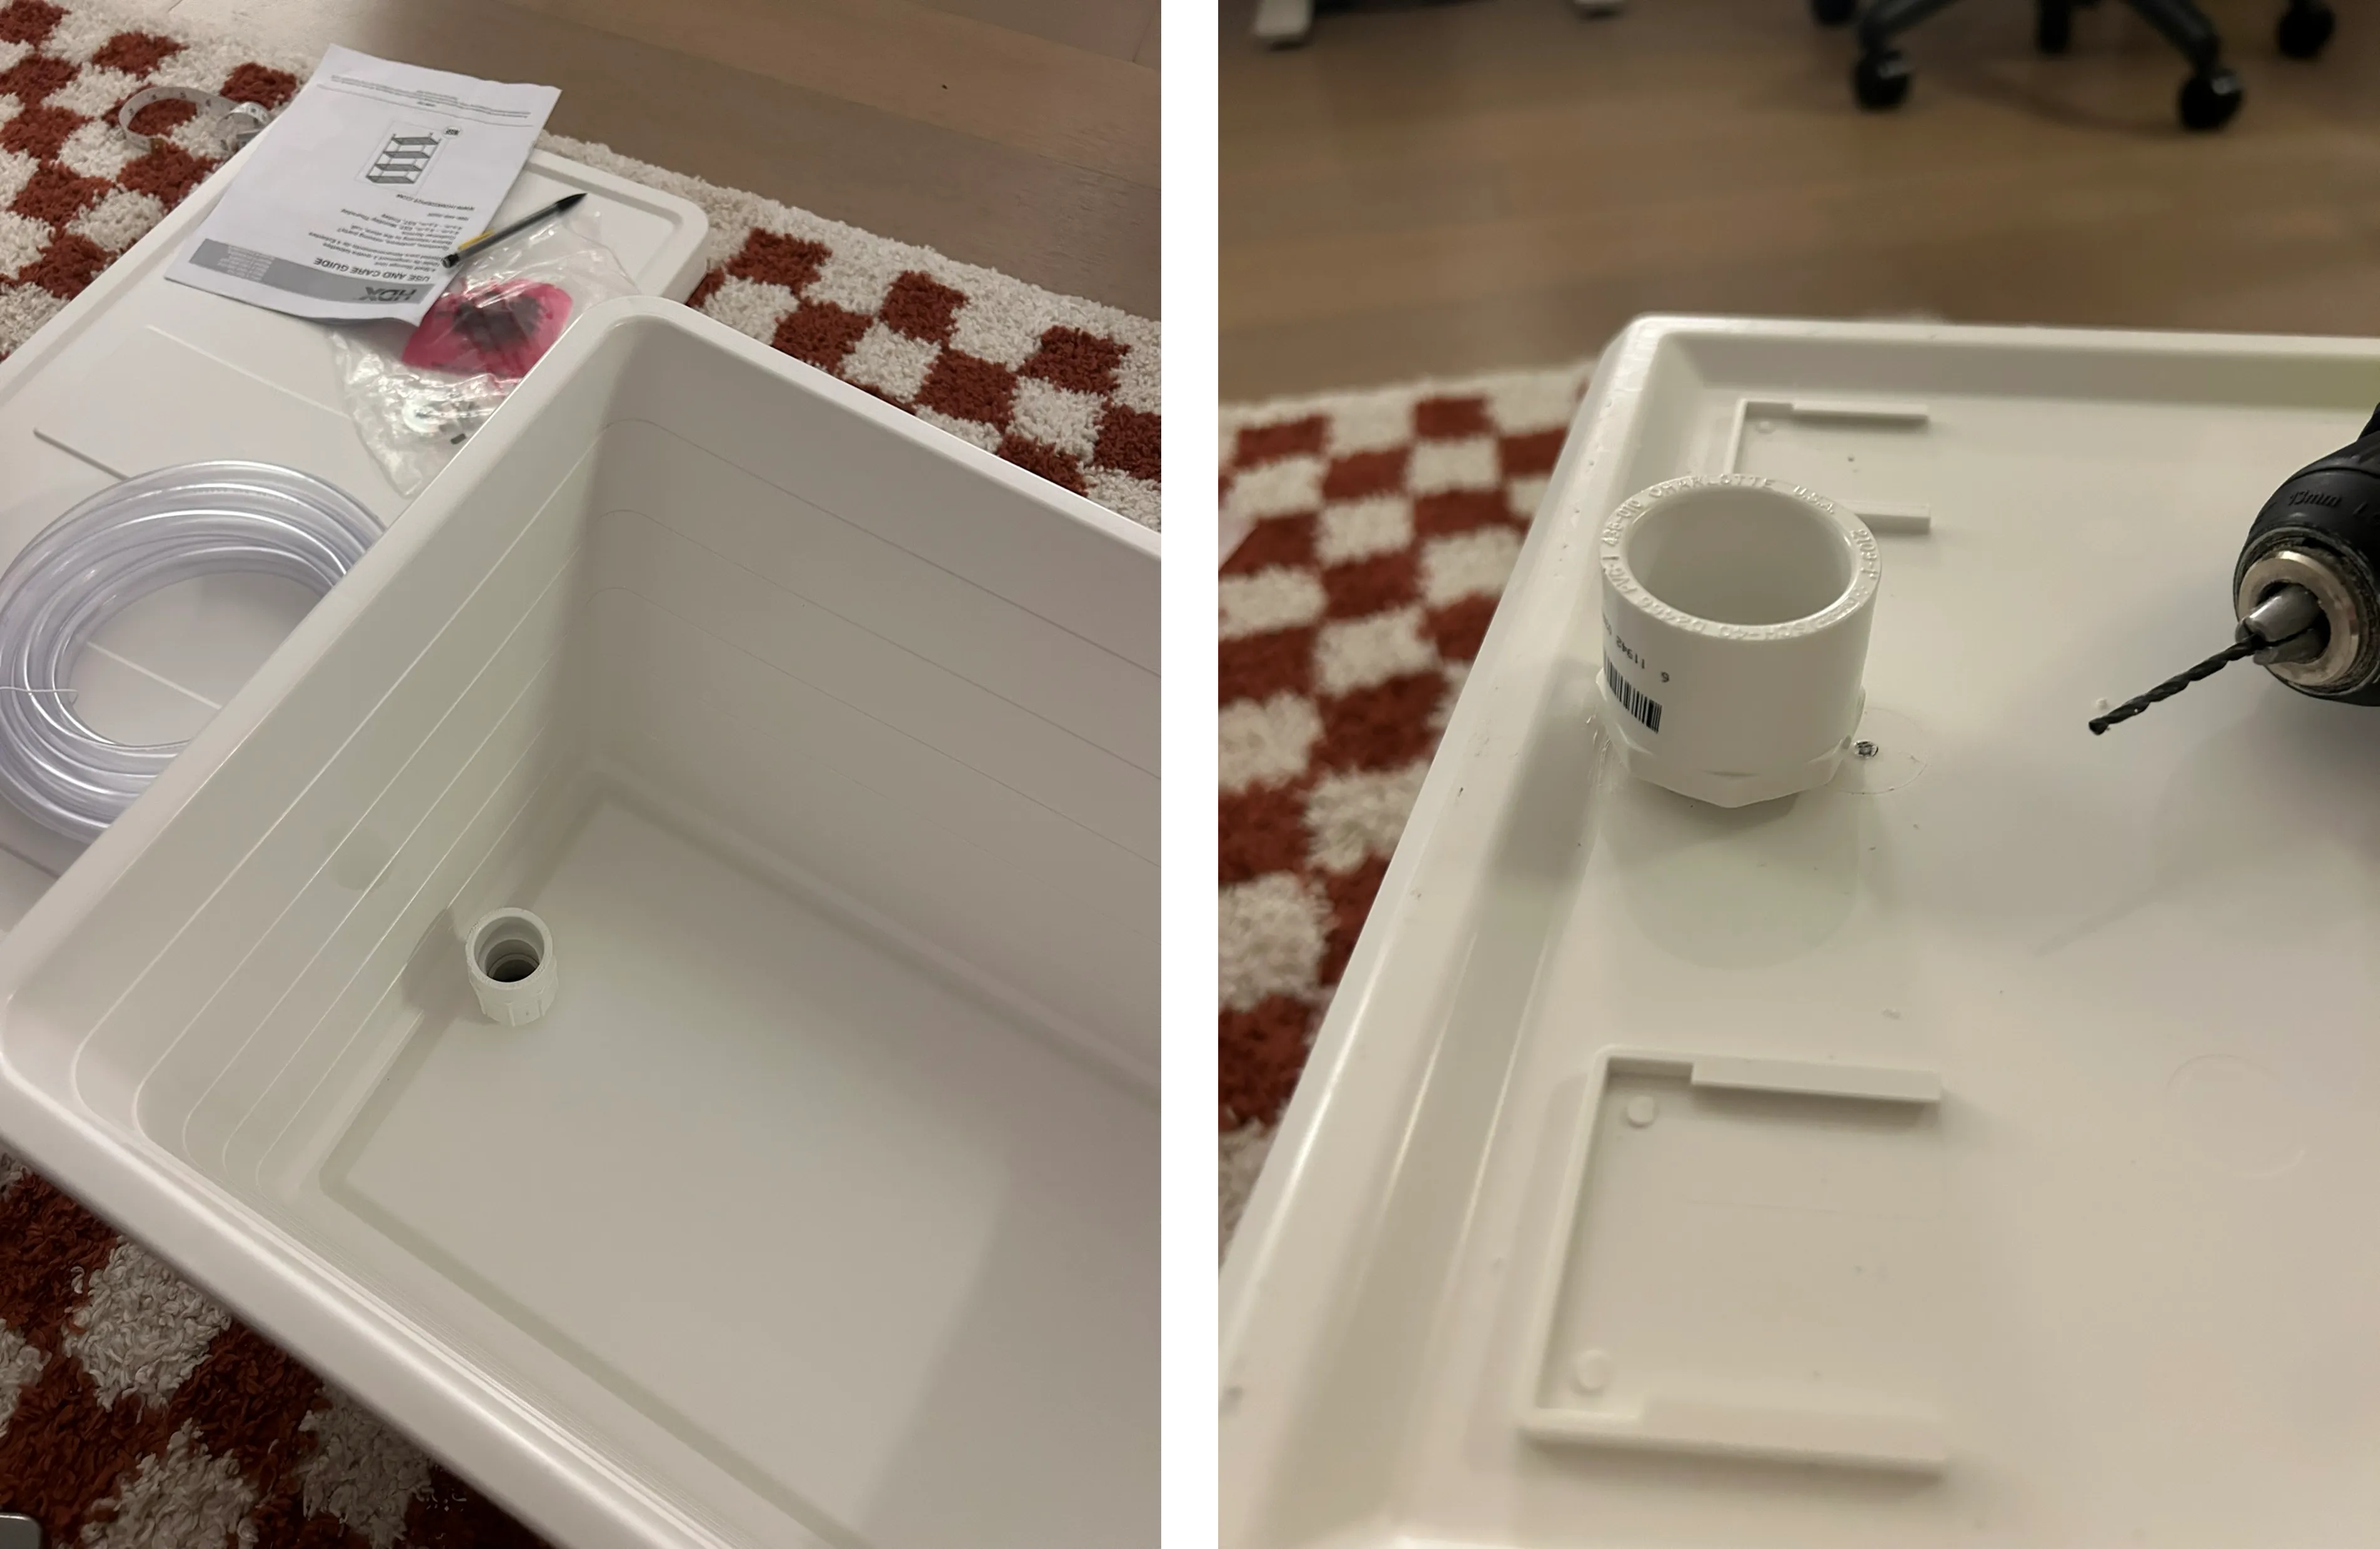
Although it took some time to plan & purchase exactly what we needed, the actual system build was pretty quick. Here is a series of pictures showing each assembly step.
![]()
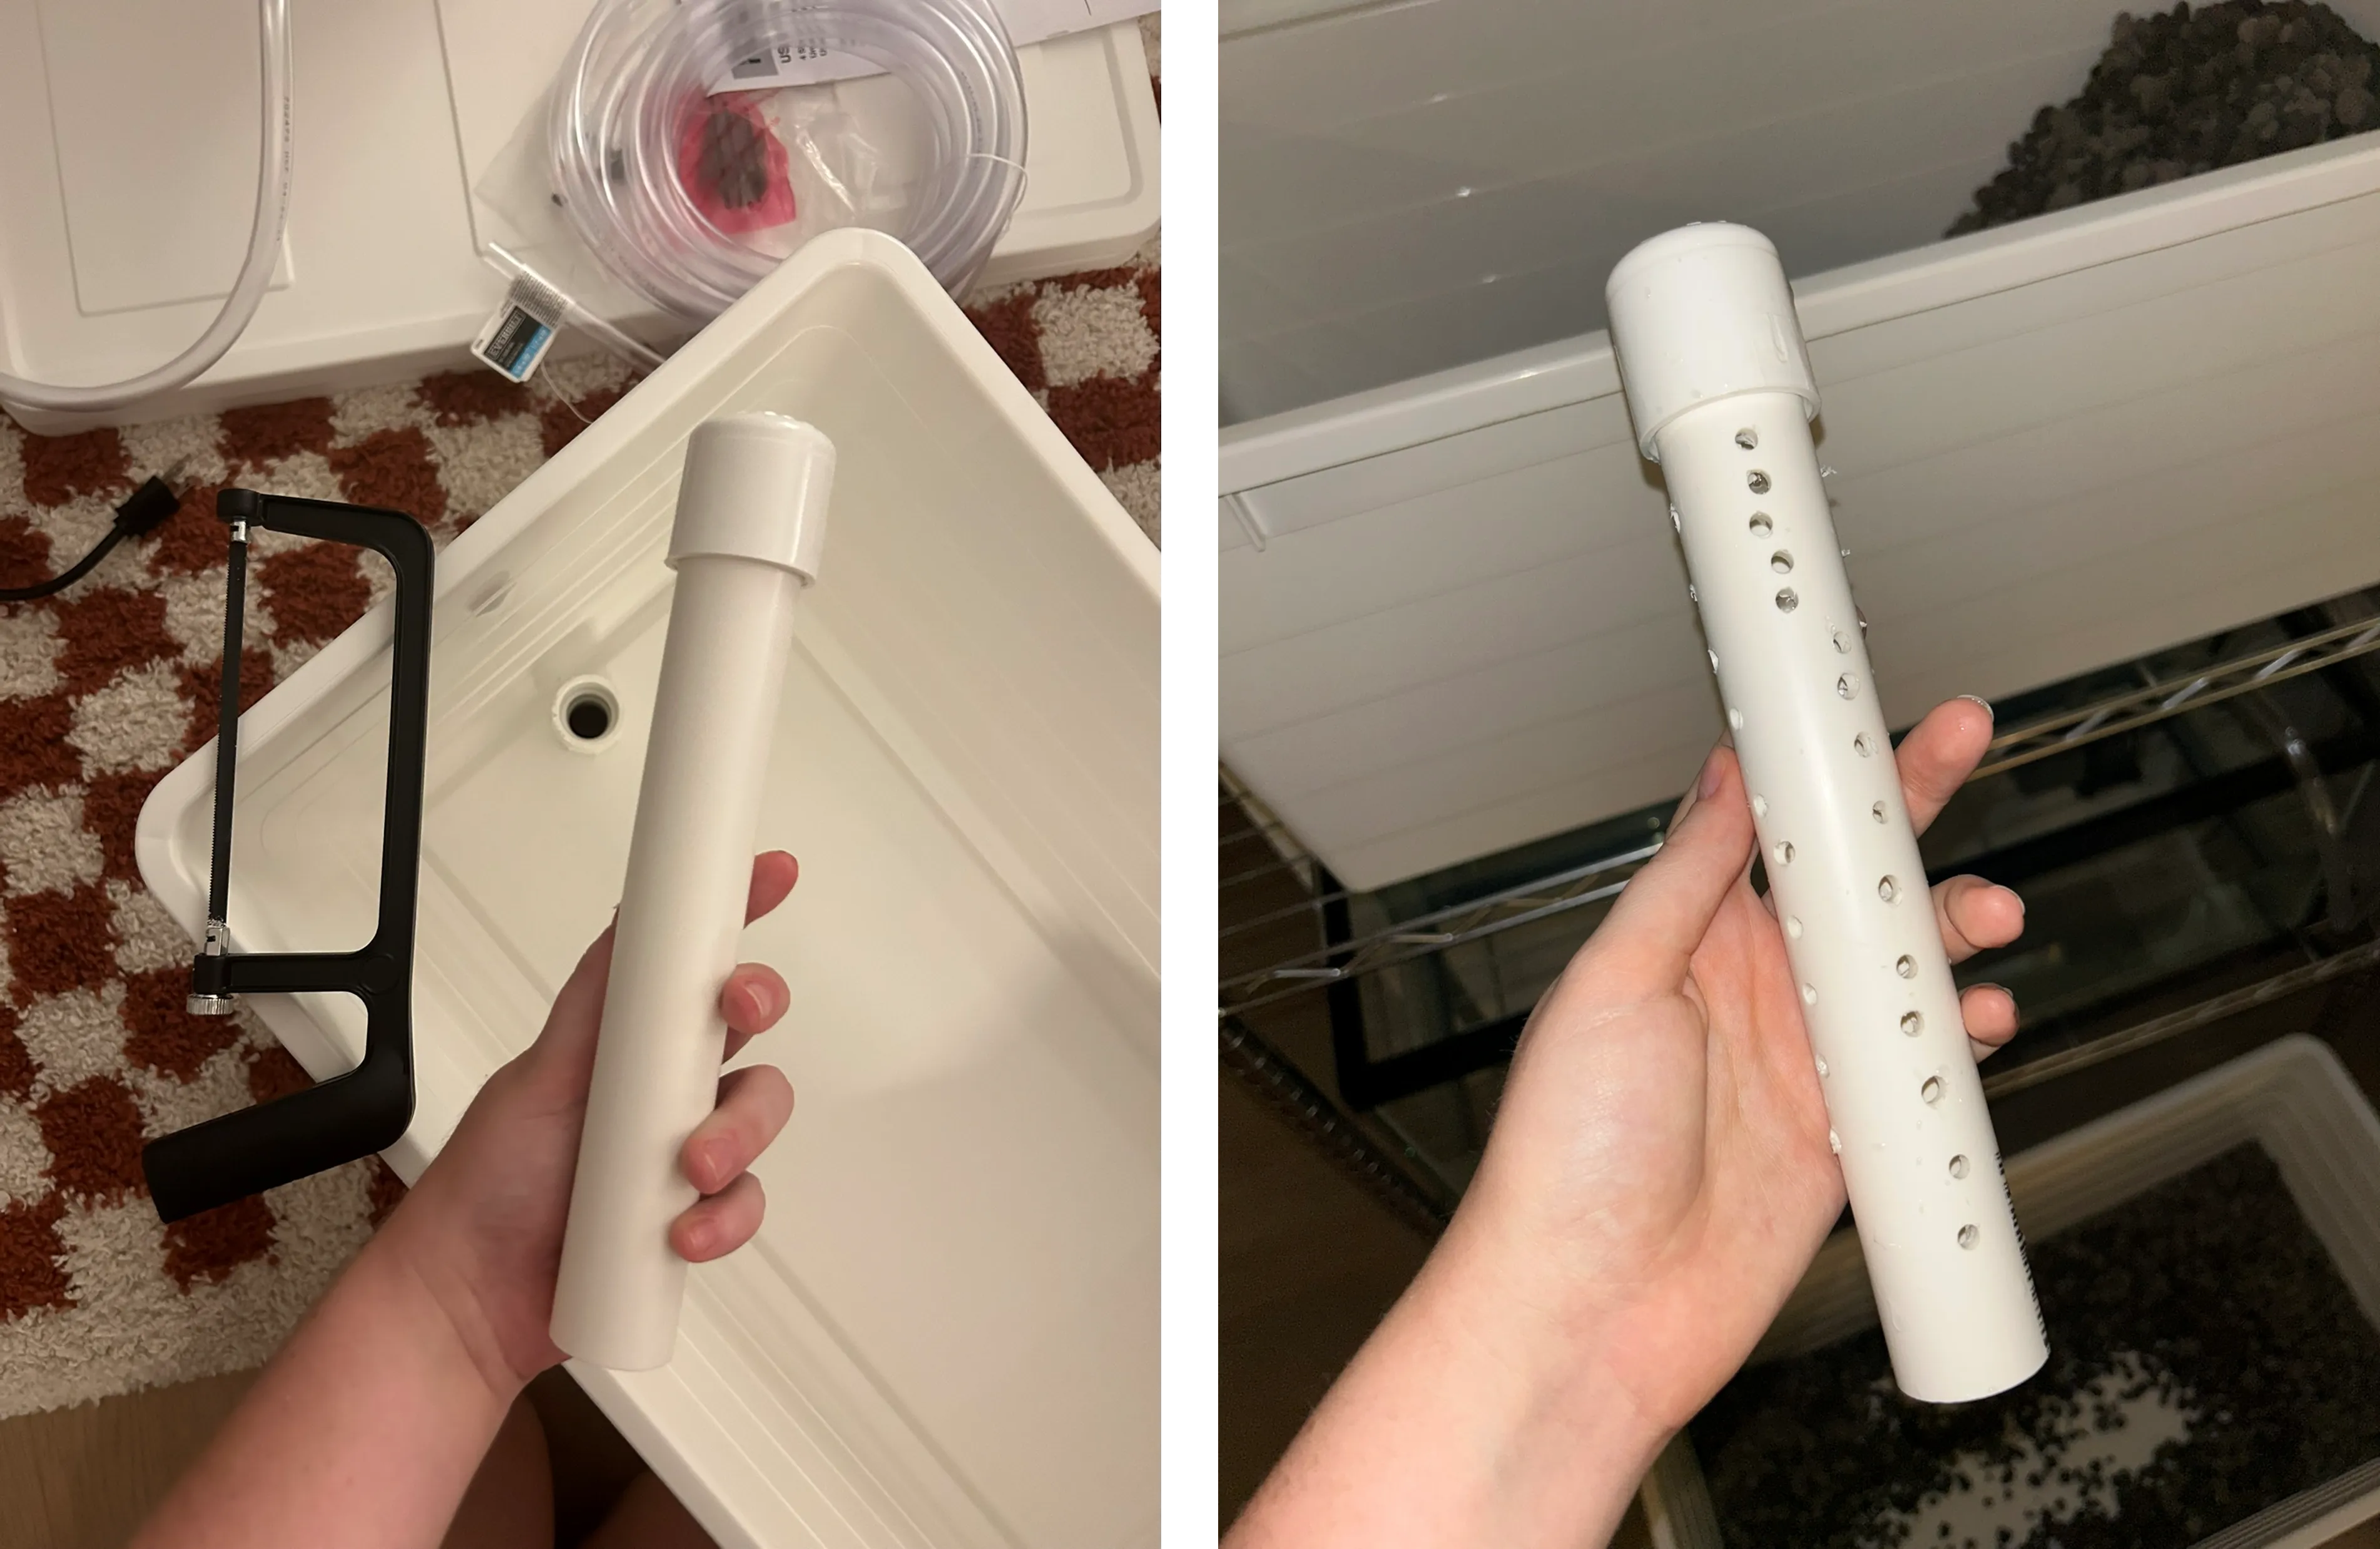
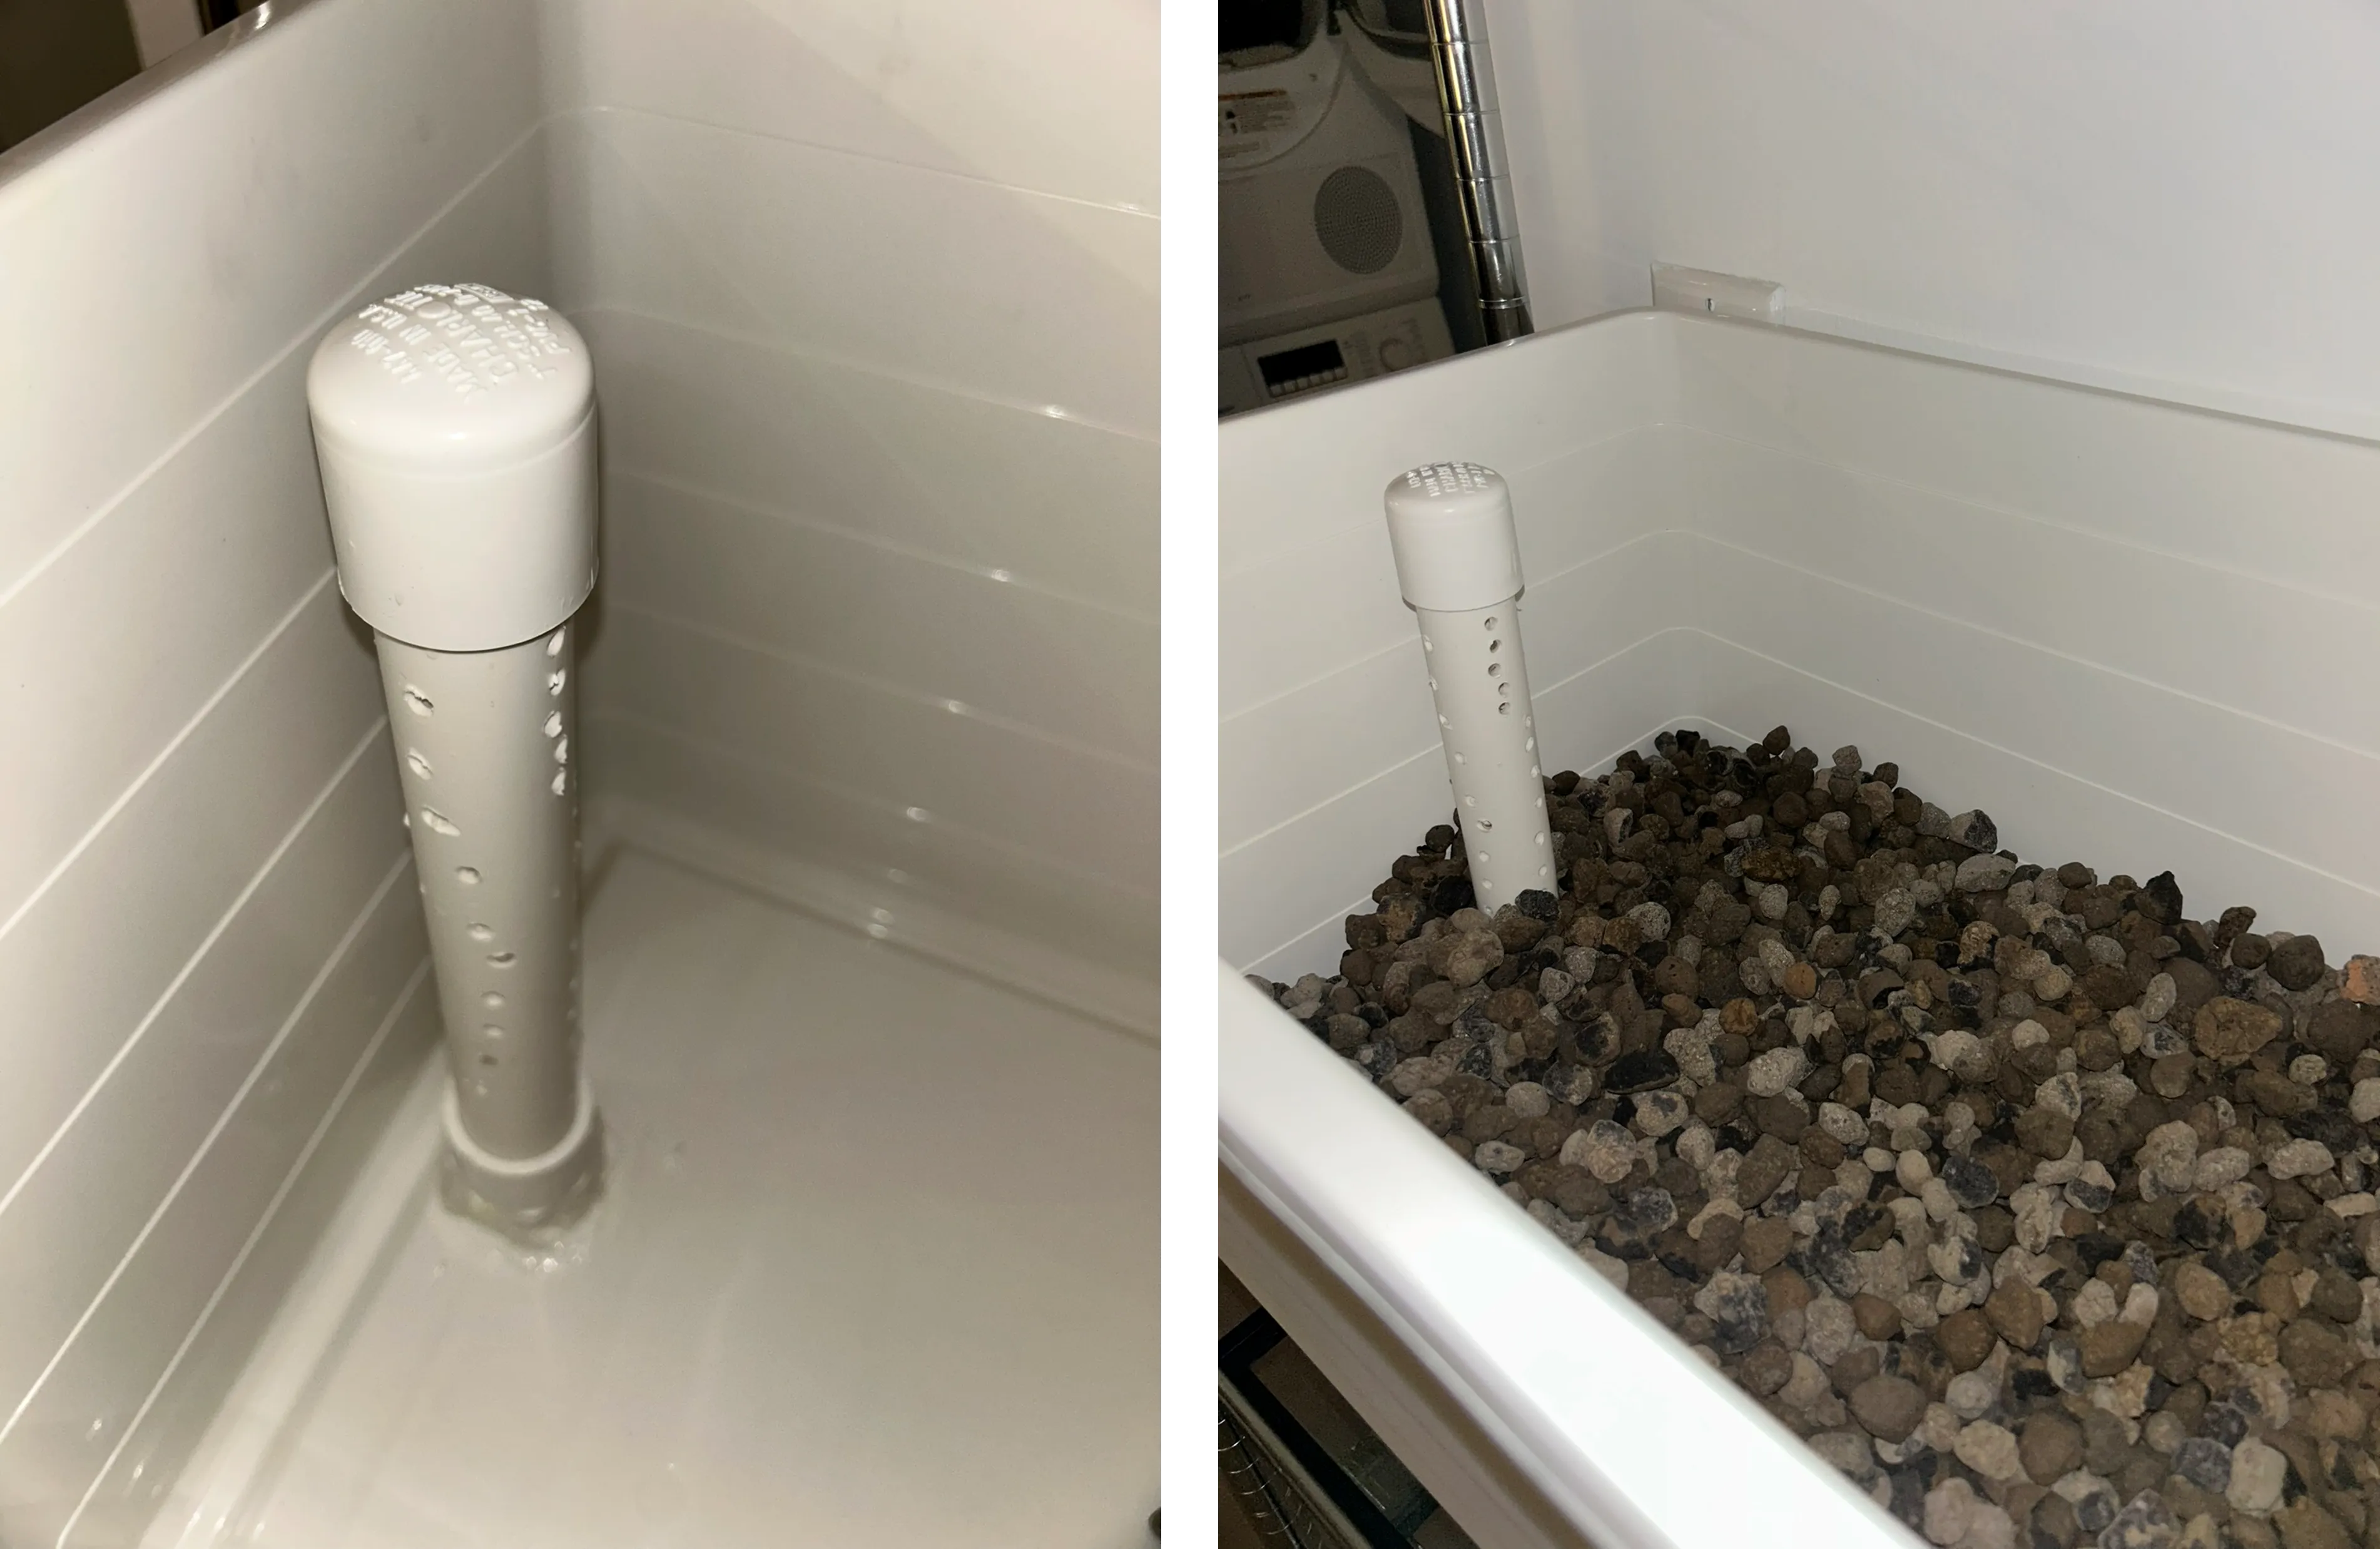
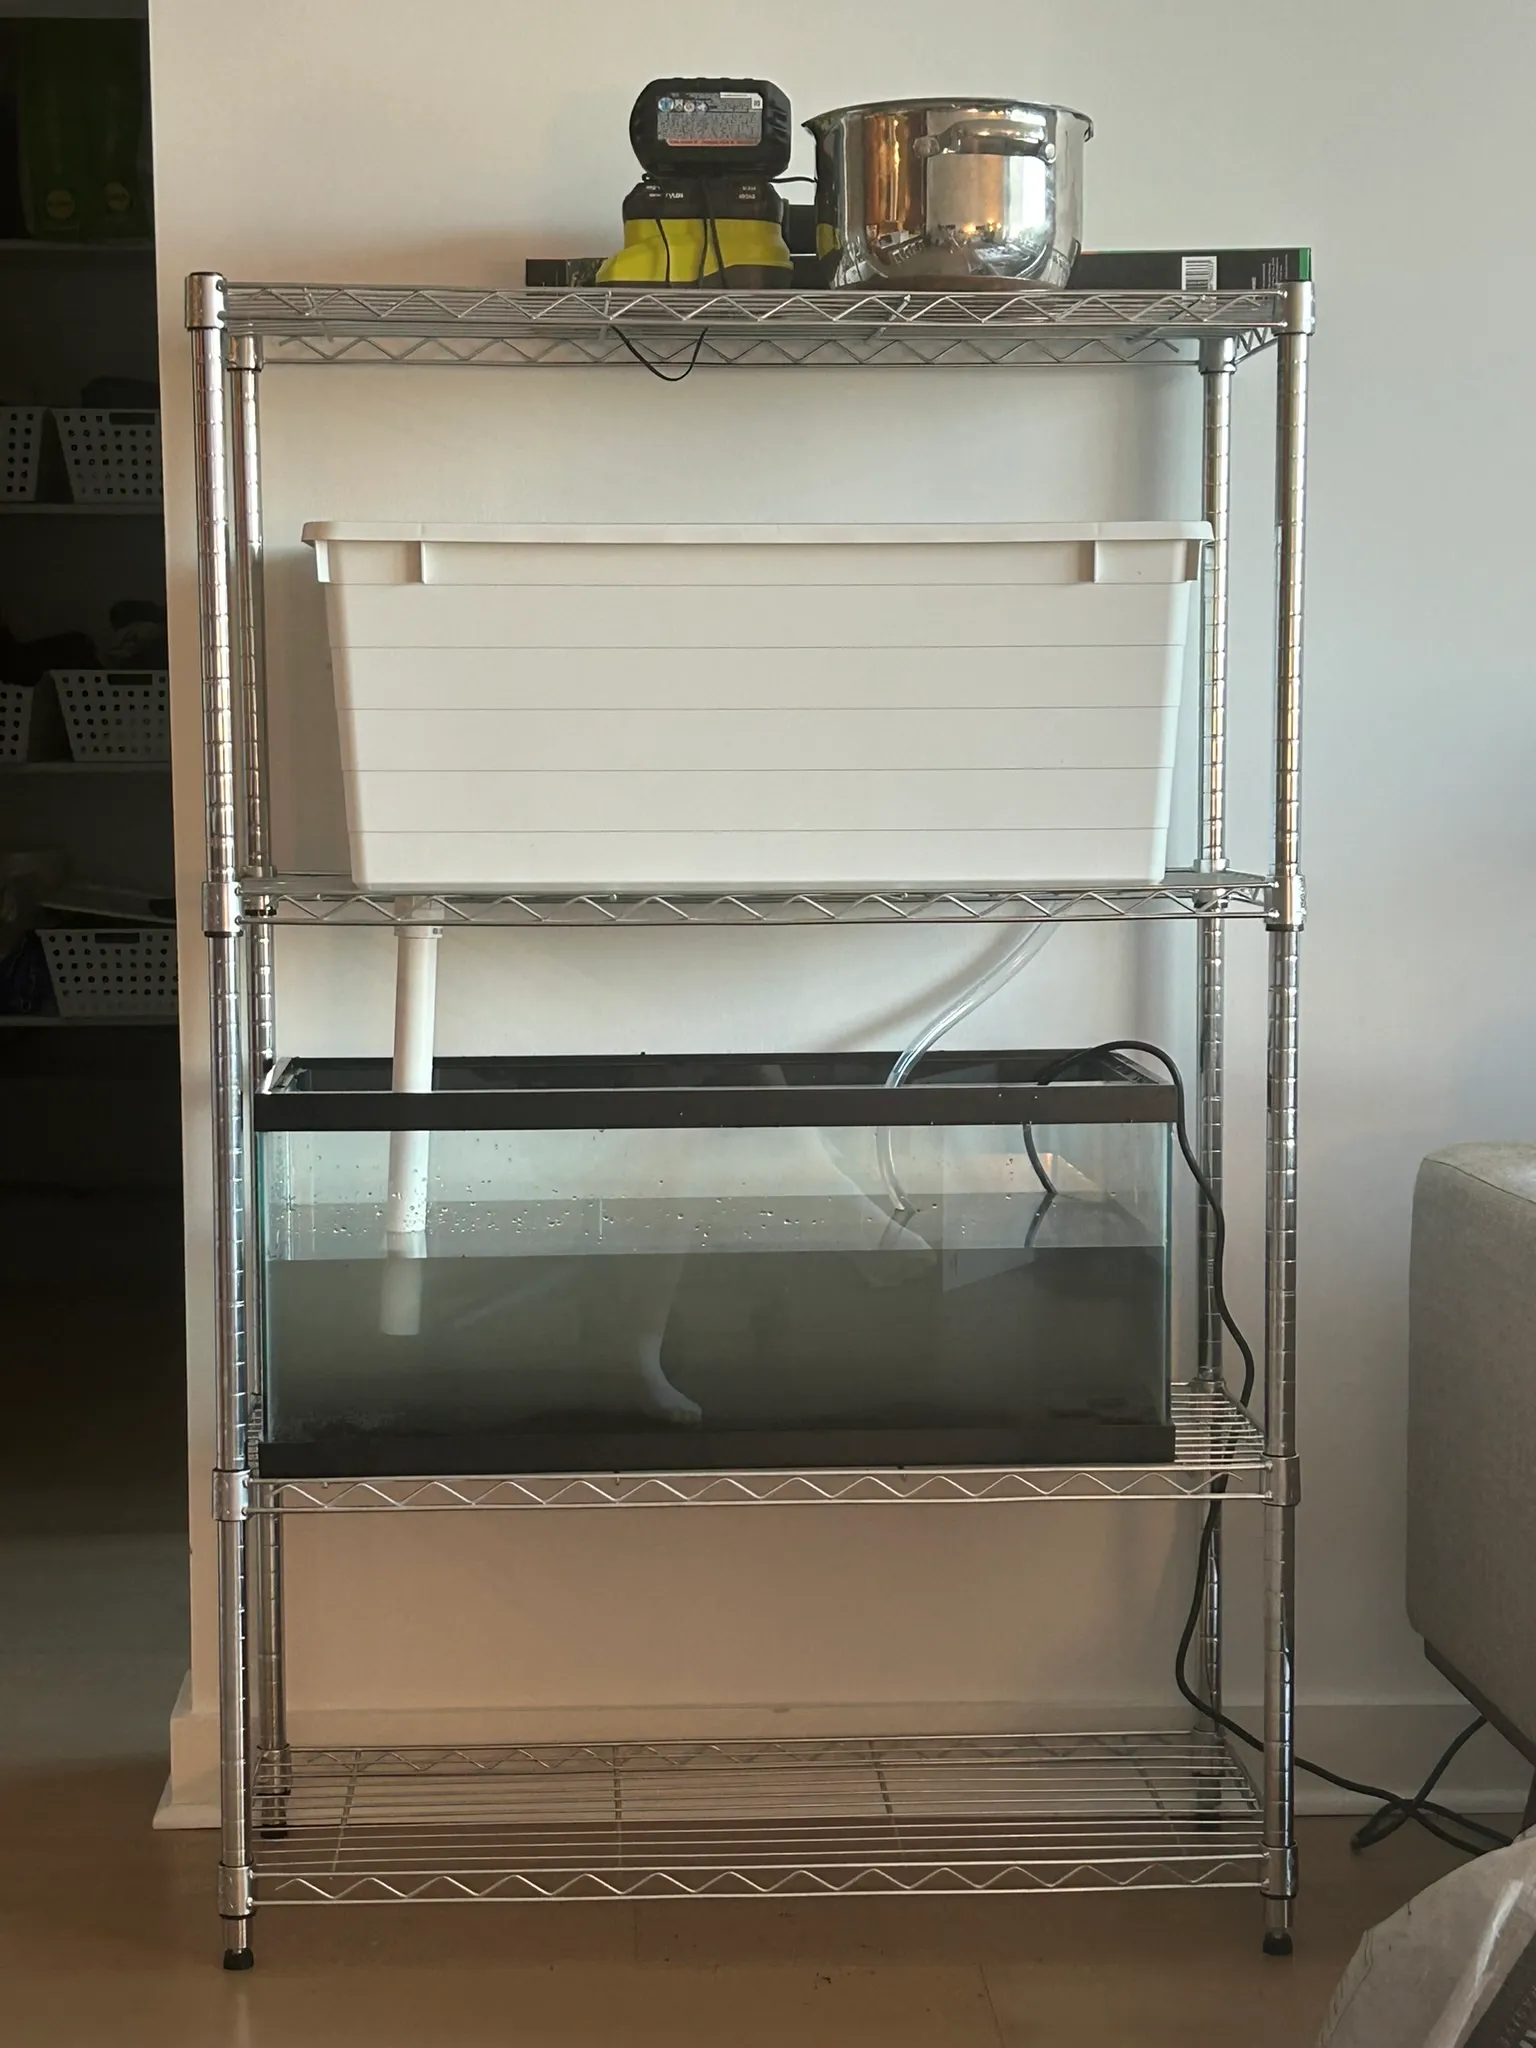
🐟 8.10.24 — Planting & cycling
After some adjustments and waiting for the substrate to settle, we’ve finally reached the most exciting part! To decorate the tank, we carefully washed the fake plants, extensively boiled the driftwood, and used the remaining silicon to glue the driftwood to some rocks we found outside so it wouldn’t float. We also added a heater and a bubbler for necessary warmth and extra oxygen. Later we found out that the fish love to ride the bubbler up like jet stream!
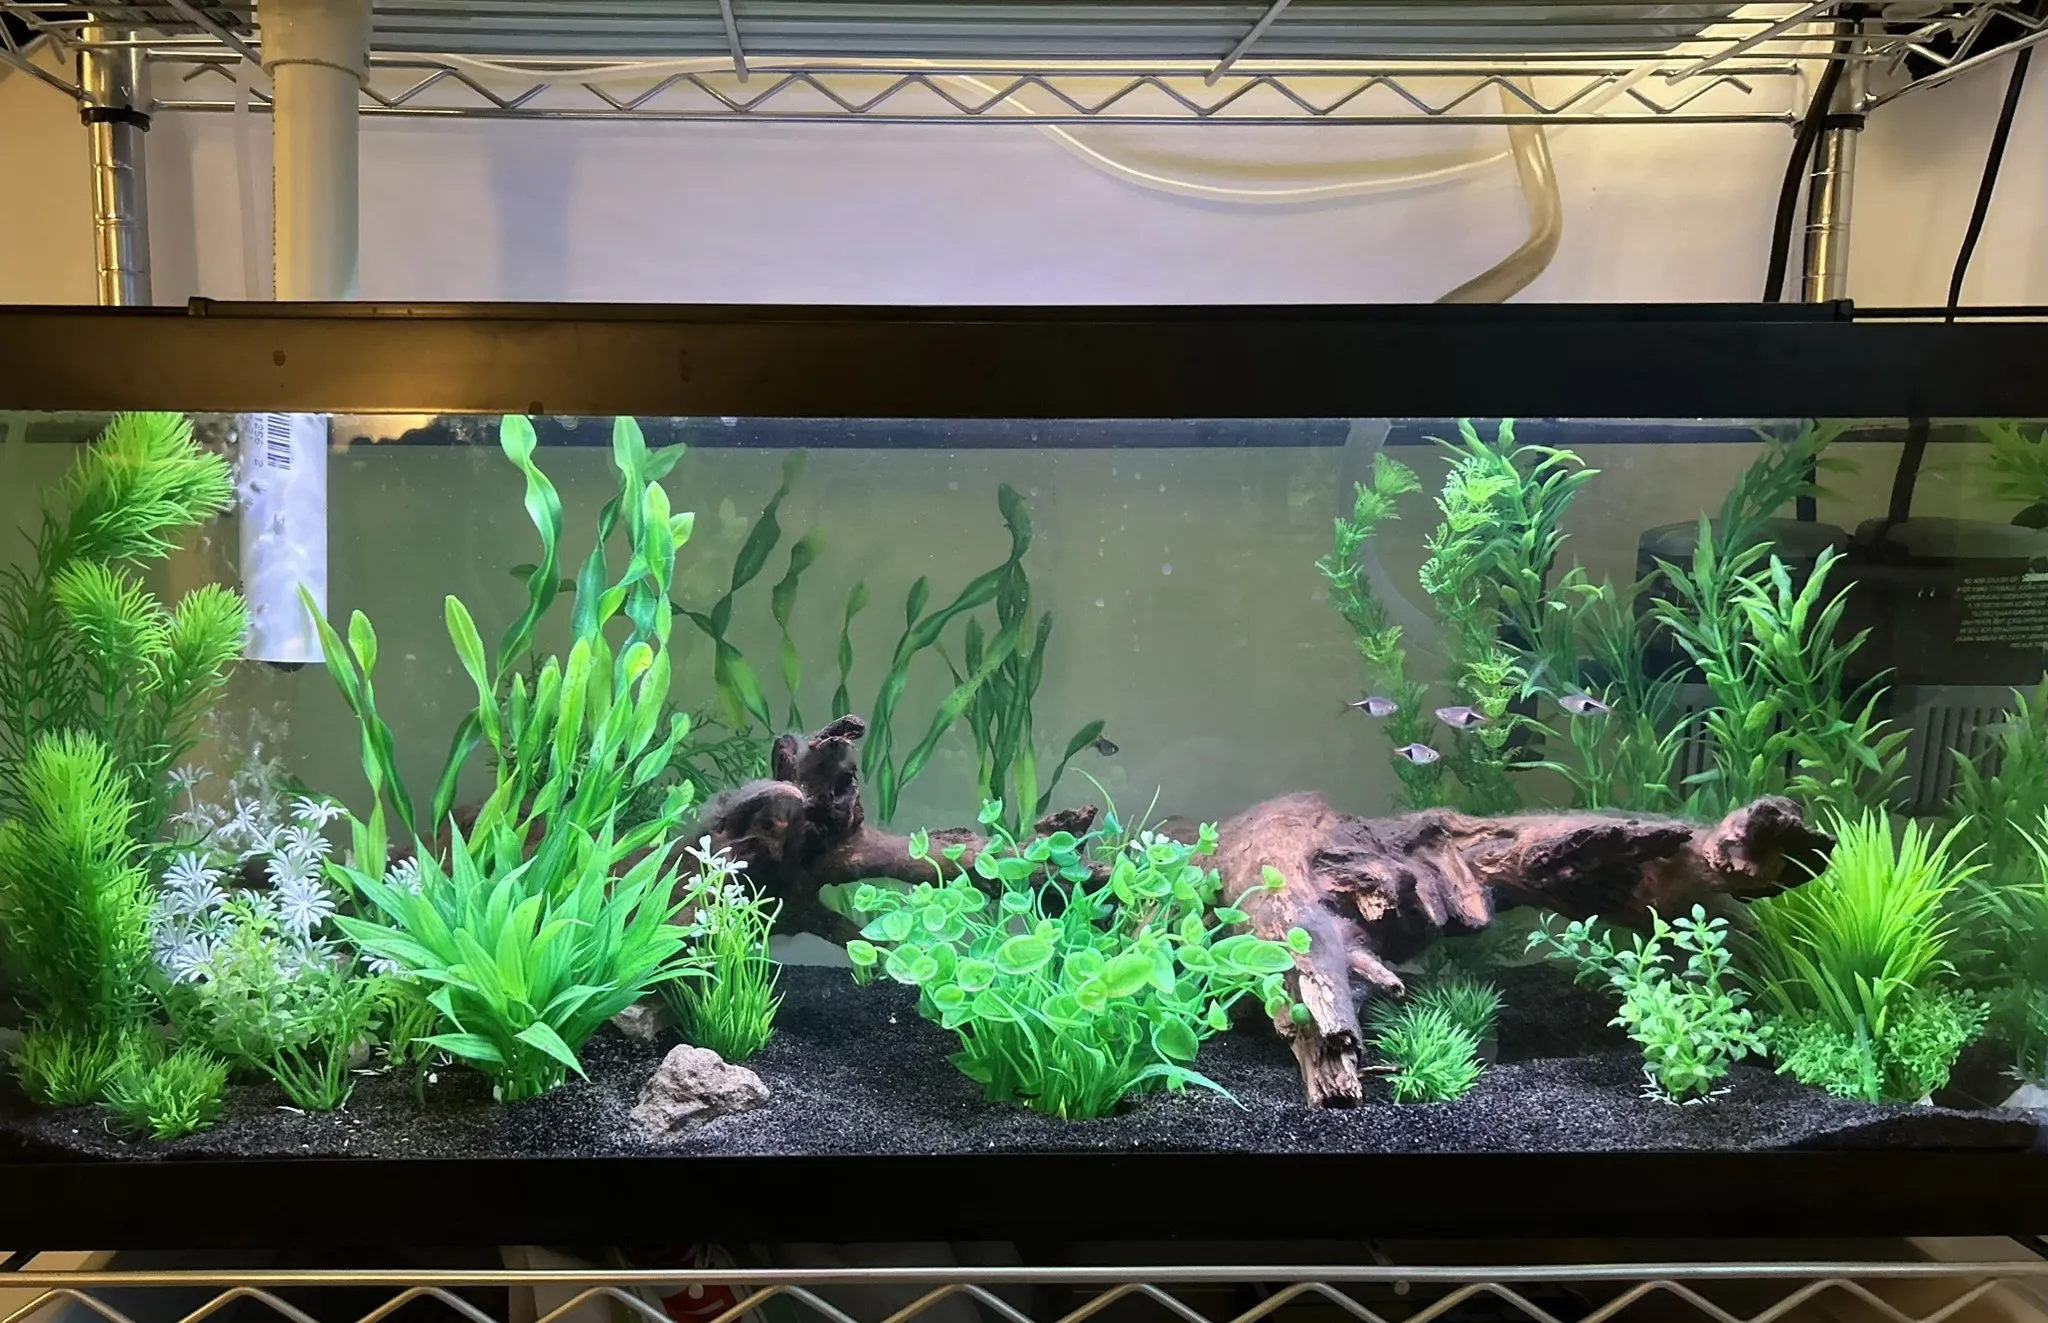
We then introduced the first fish to our tank — 5 baby harlequin rasboras!
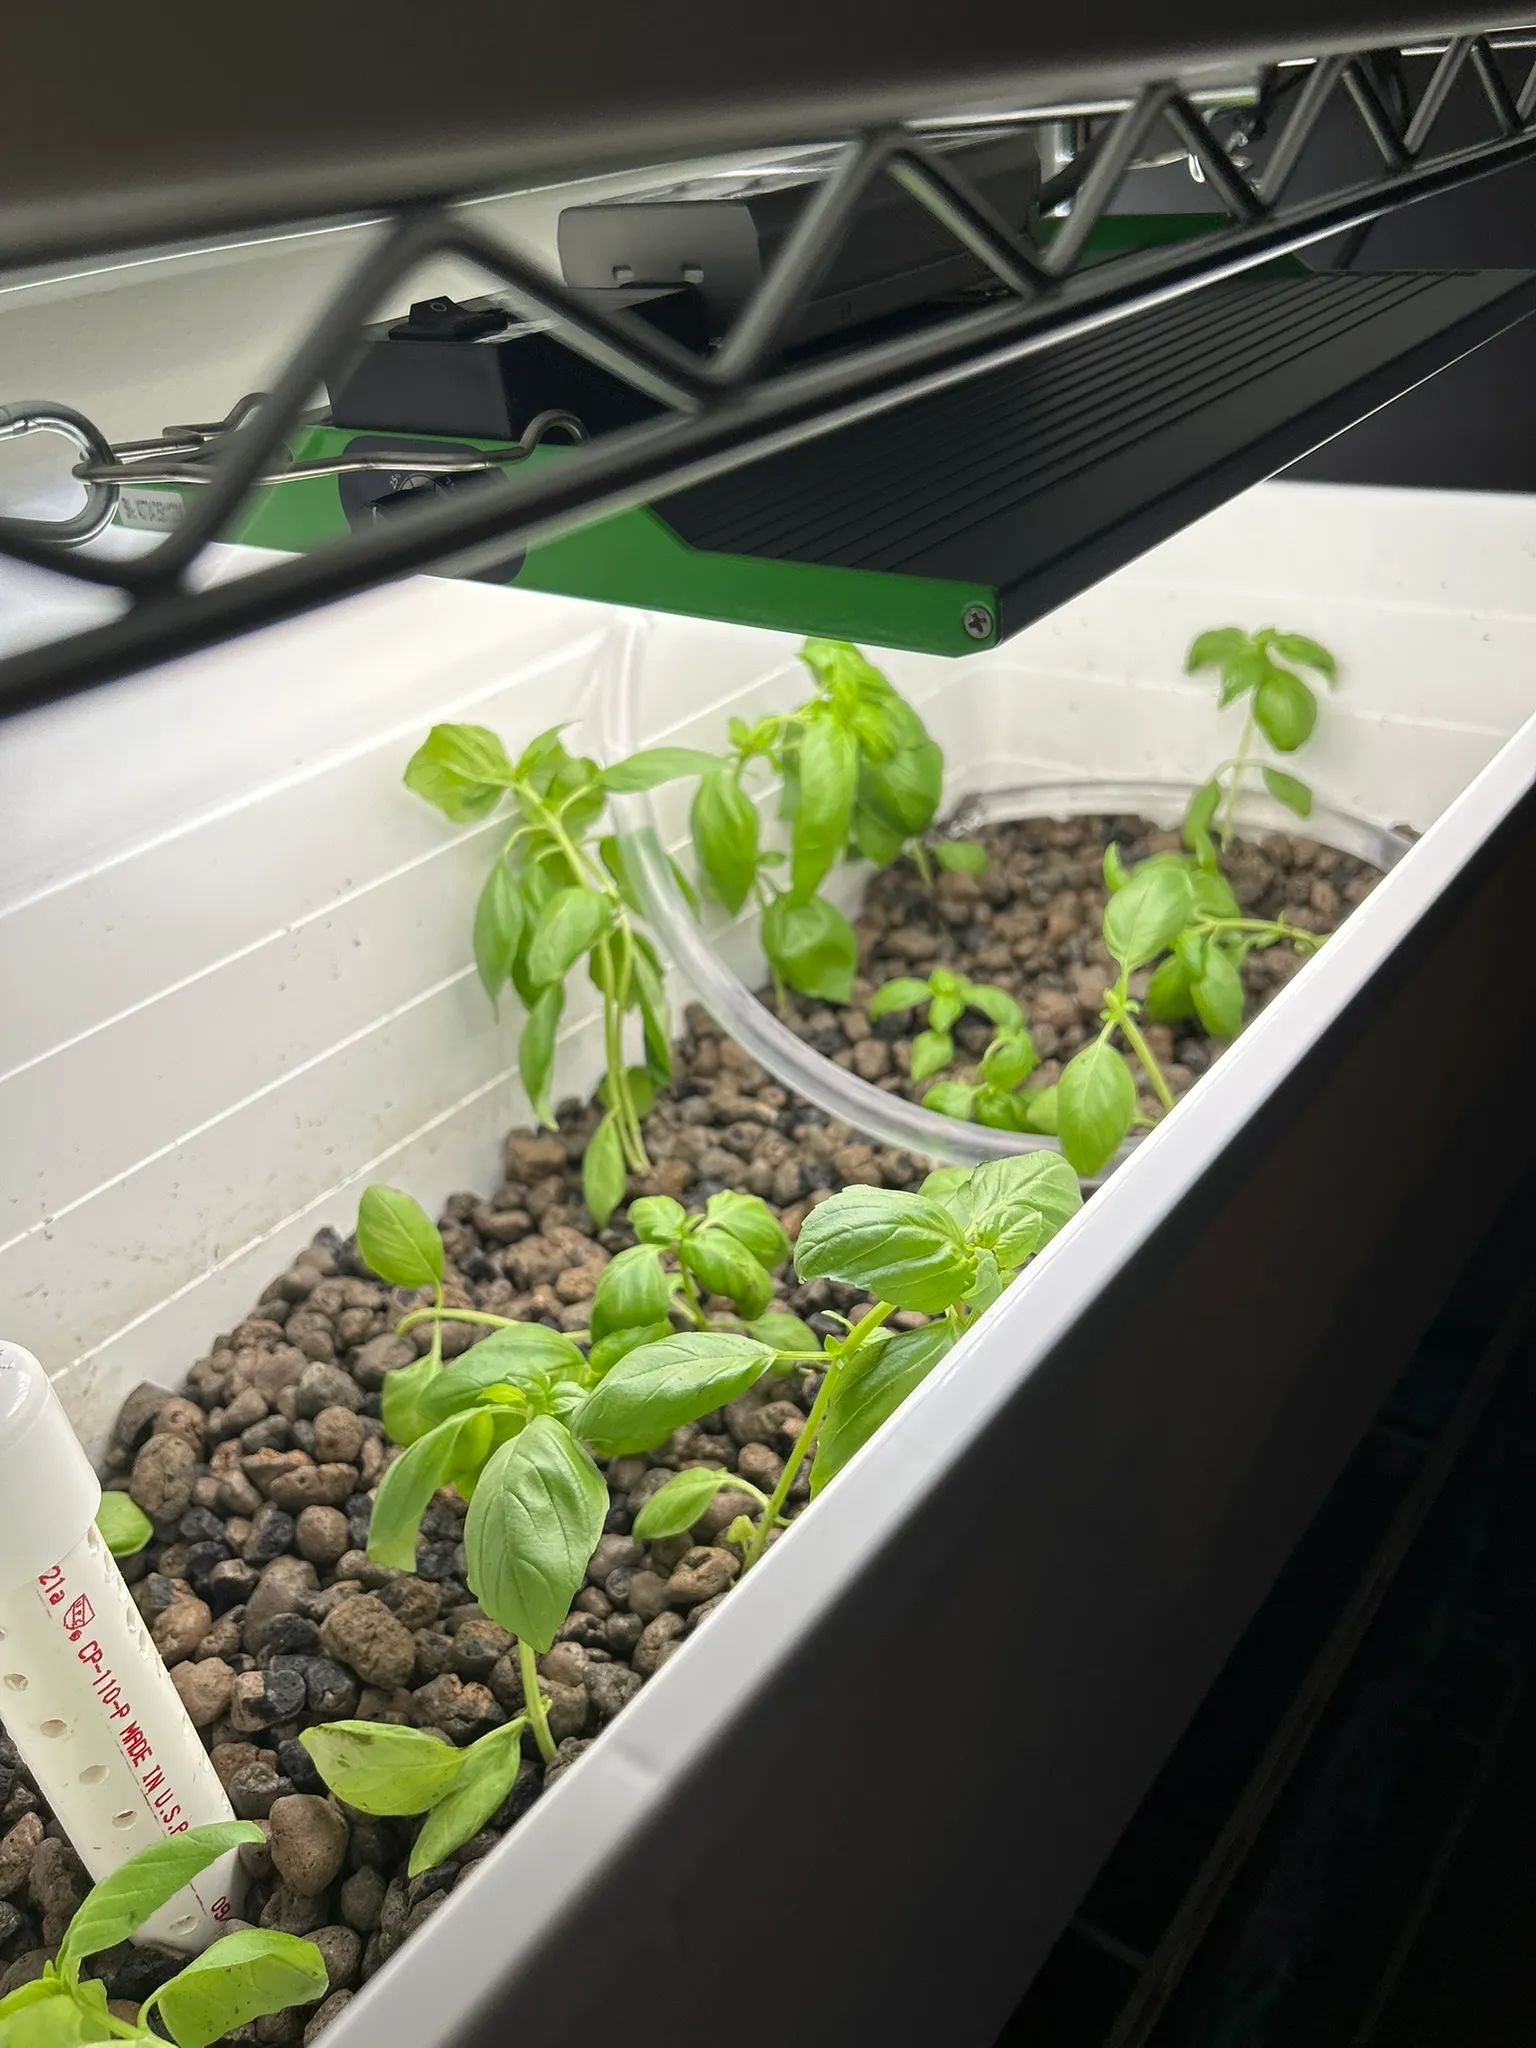
At this time, we’ve also introduced some starter plants into the grow bed to help clean any nutrients out of the water as the tank cycles. We purchased an organic basil plant from Trader Joes, and carefully separated each baby basil plant from it. We then washed all of the soil from the plant roots, and rooted them in the clay substrate.
We have also set up the plant grow-light and the tank light.
💡 An important note on tank cycling
In any aquarium, bacteria turns the ammonia from animal waste into nitrites, and other bacteria convert that nitrite into nitrate, which can then be consumed by the plants in the grow bed. However, it takes some time for these bacteria colonies to build up in the system. This build-up process is known as cycling the tank, and there are two ways to do it. The first is fish-out cycling, which involves adding some fish food or organic matter into the tank, which leads to the growth of these bacteria before any fish enter the system. The other form is fish-in cycling, which involves stocking the tank very minimally and allowing the bacteria to slowly grow from the fish waste.
We initially went with fish-in cycling, because we were eager to see fish in our beautiful tank. However, after doing more research, we learned that it is much better to use fish-out cycling in any future tanks, because it can be both stressful and deadly for the fish if the ammonia, nitrite, or nitrate levels get too high. It is also much faster than fish-in cycling and requires less frequent monitoring of the water composition. The entire cycling process took about two months, and we had to measure the levels of ammonia, nitrite, and nitrate every day to ensure the fish would be happy and healthy. One great product was prime water conditioner, as every two to three days we would add a small pot of conditioned water to replace any water that had evaporated over that time. While using this conditioner slows the process of cycling, it ultimately kept our fish healthy and made it much safer for them.
🐌 10.31.24 — Adding more friends
After the tank was cycled and nutrient levels remained stable, it was time to add more friends. We purchased 4 ghost shrimp and 2 nirite snails, which have proven to be a great clean-up crew. The shrimp are very smart and bold; although they primarily forage for food scraps along the bottom of the tank, they will frequently swim to the surface and steal food flakes from the rasboras. The two snails are also hard workers, and have quickly cleaned all of the tanks glass (they are now working on the driftwood’s algae).
🌿 11.30.24 — Harvesting + even more friends
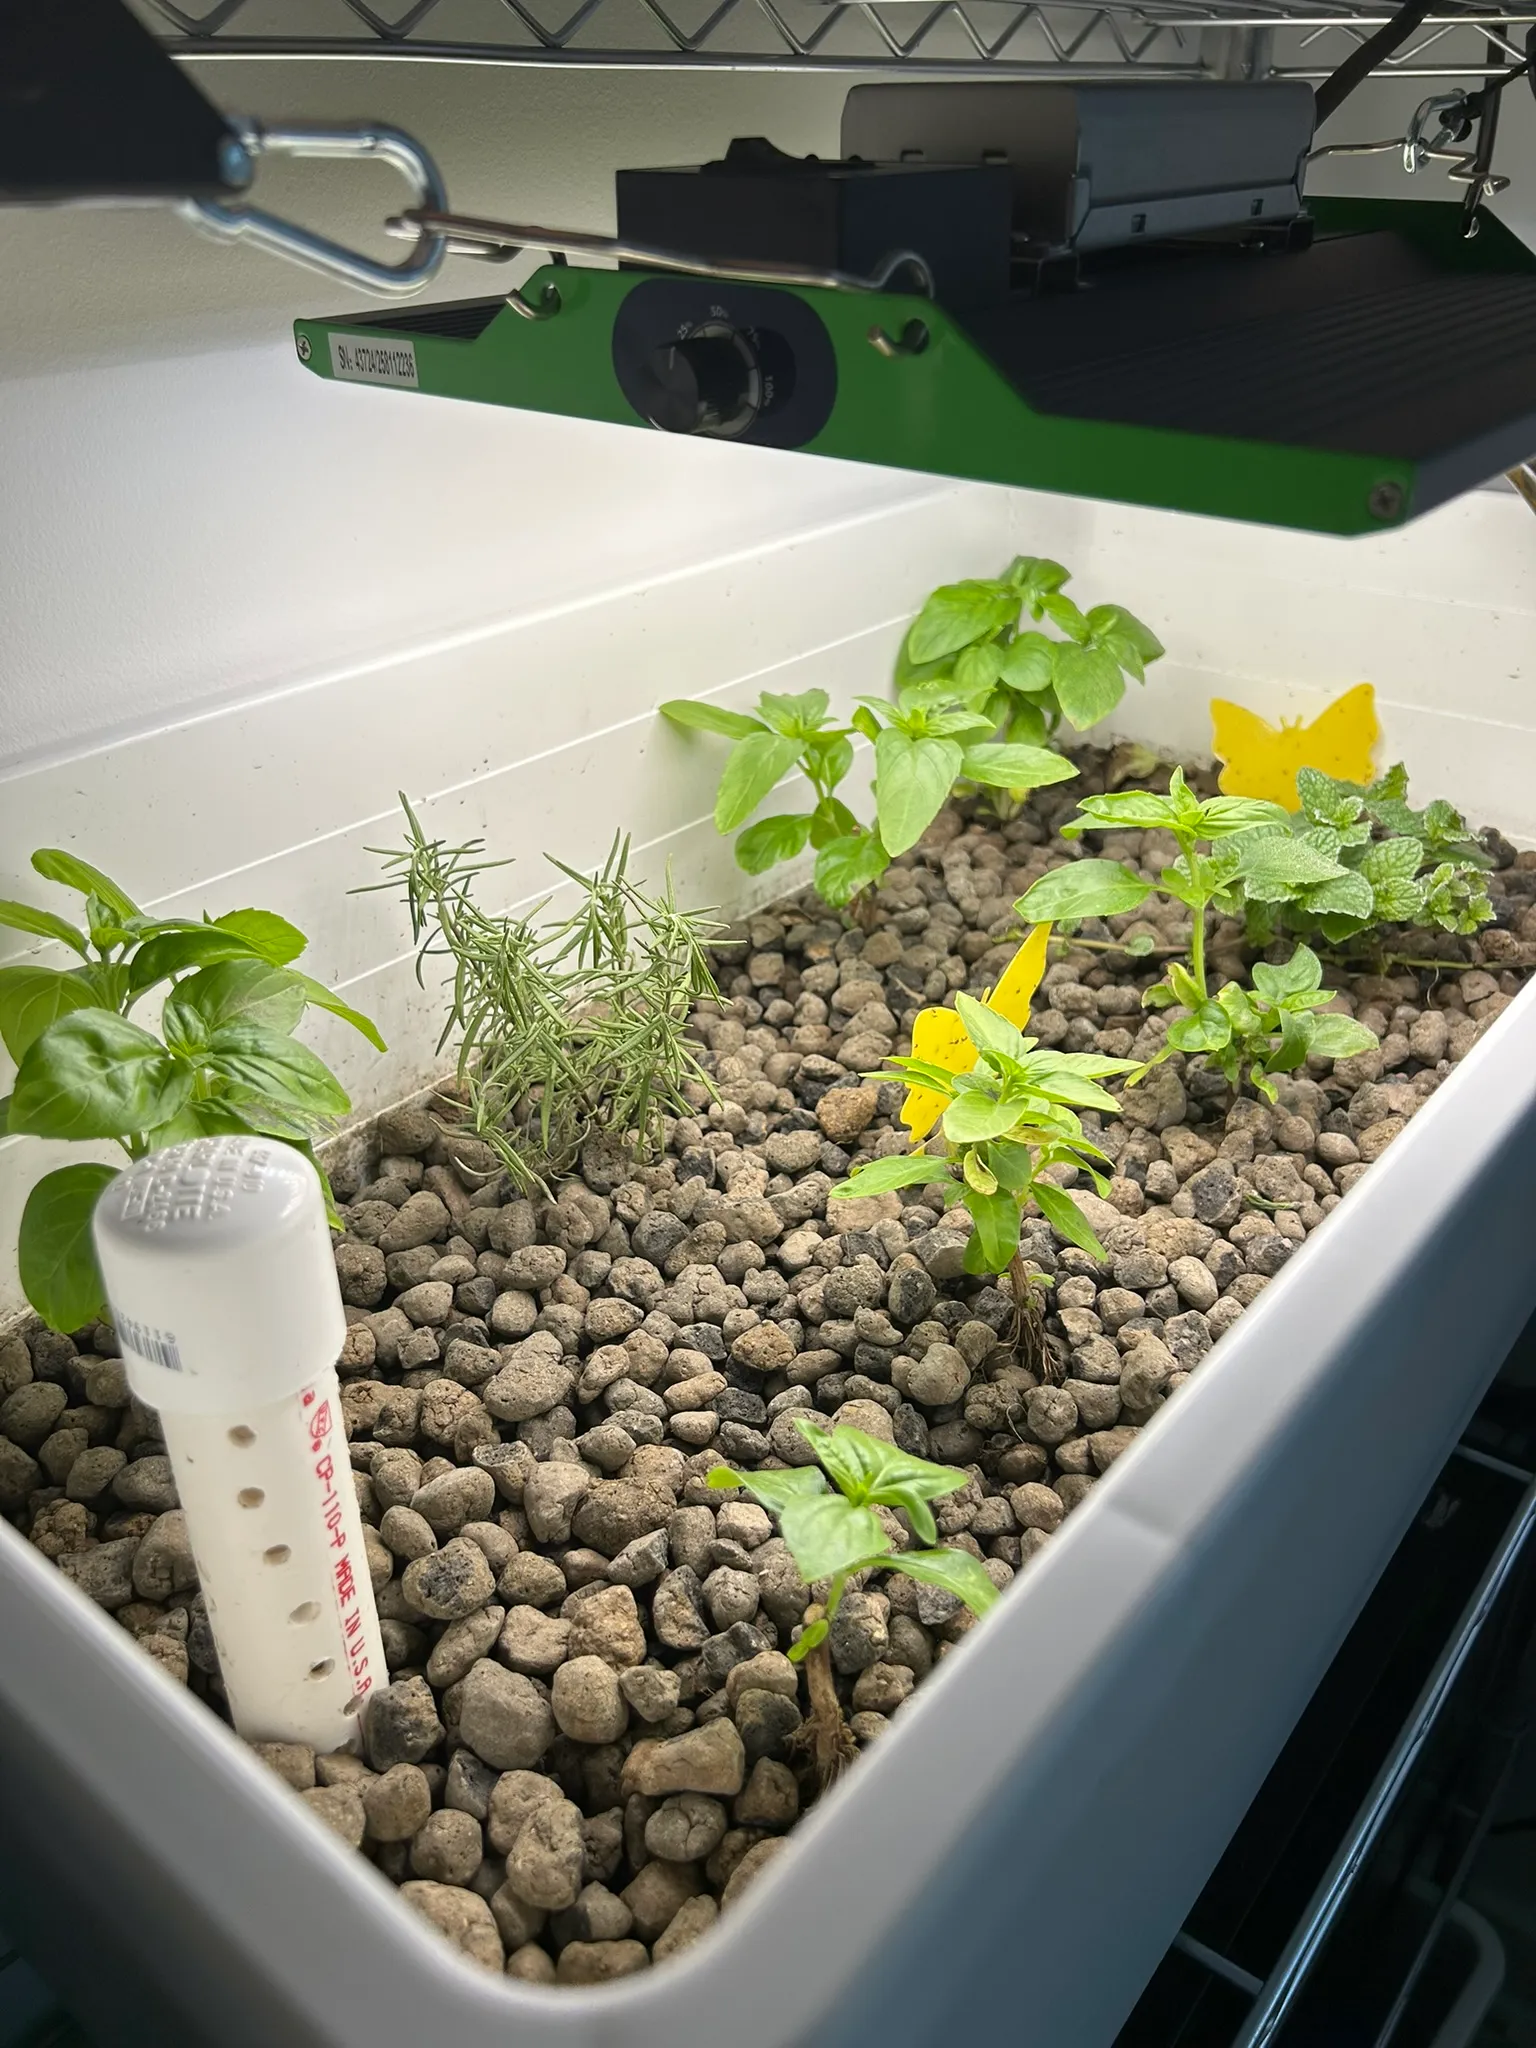
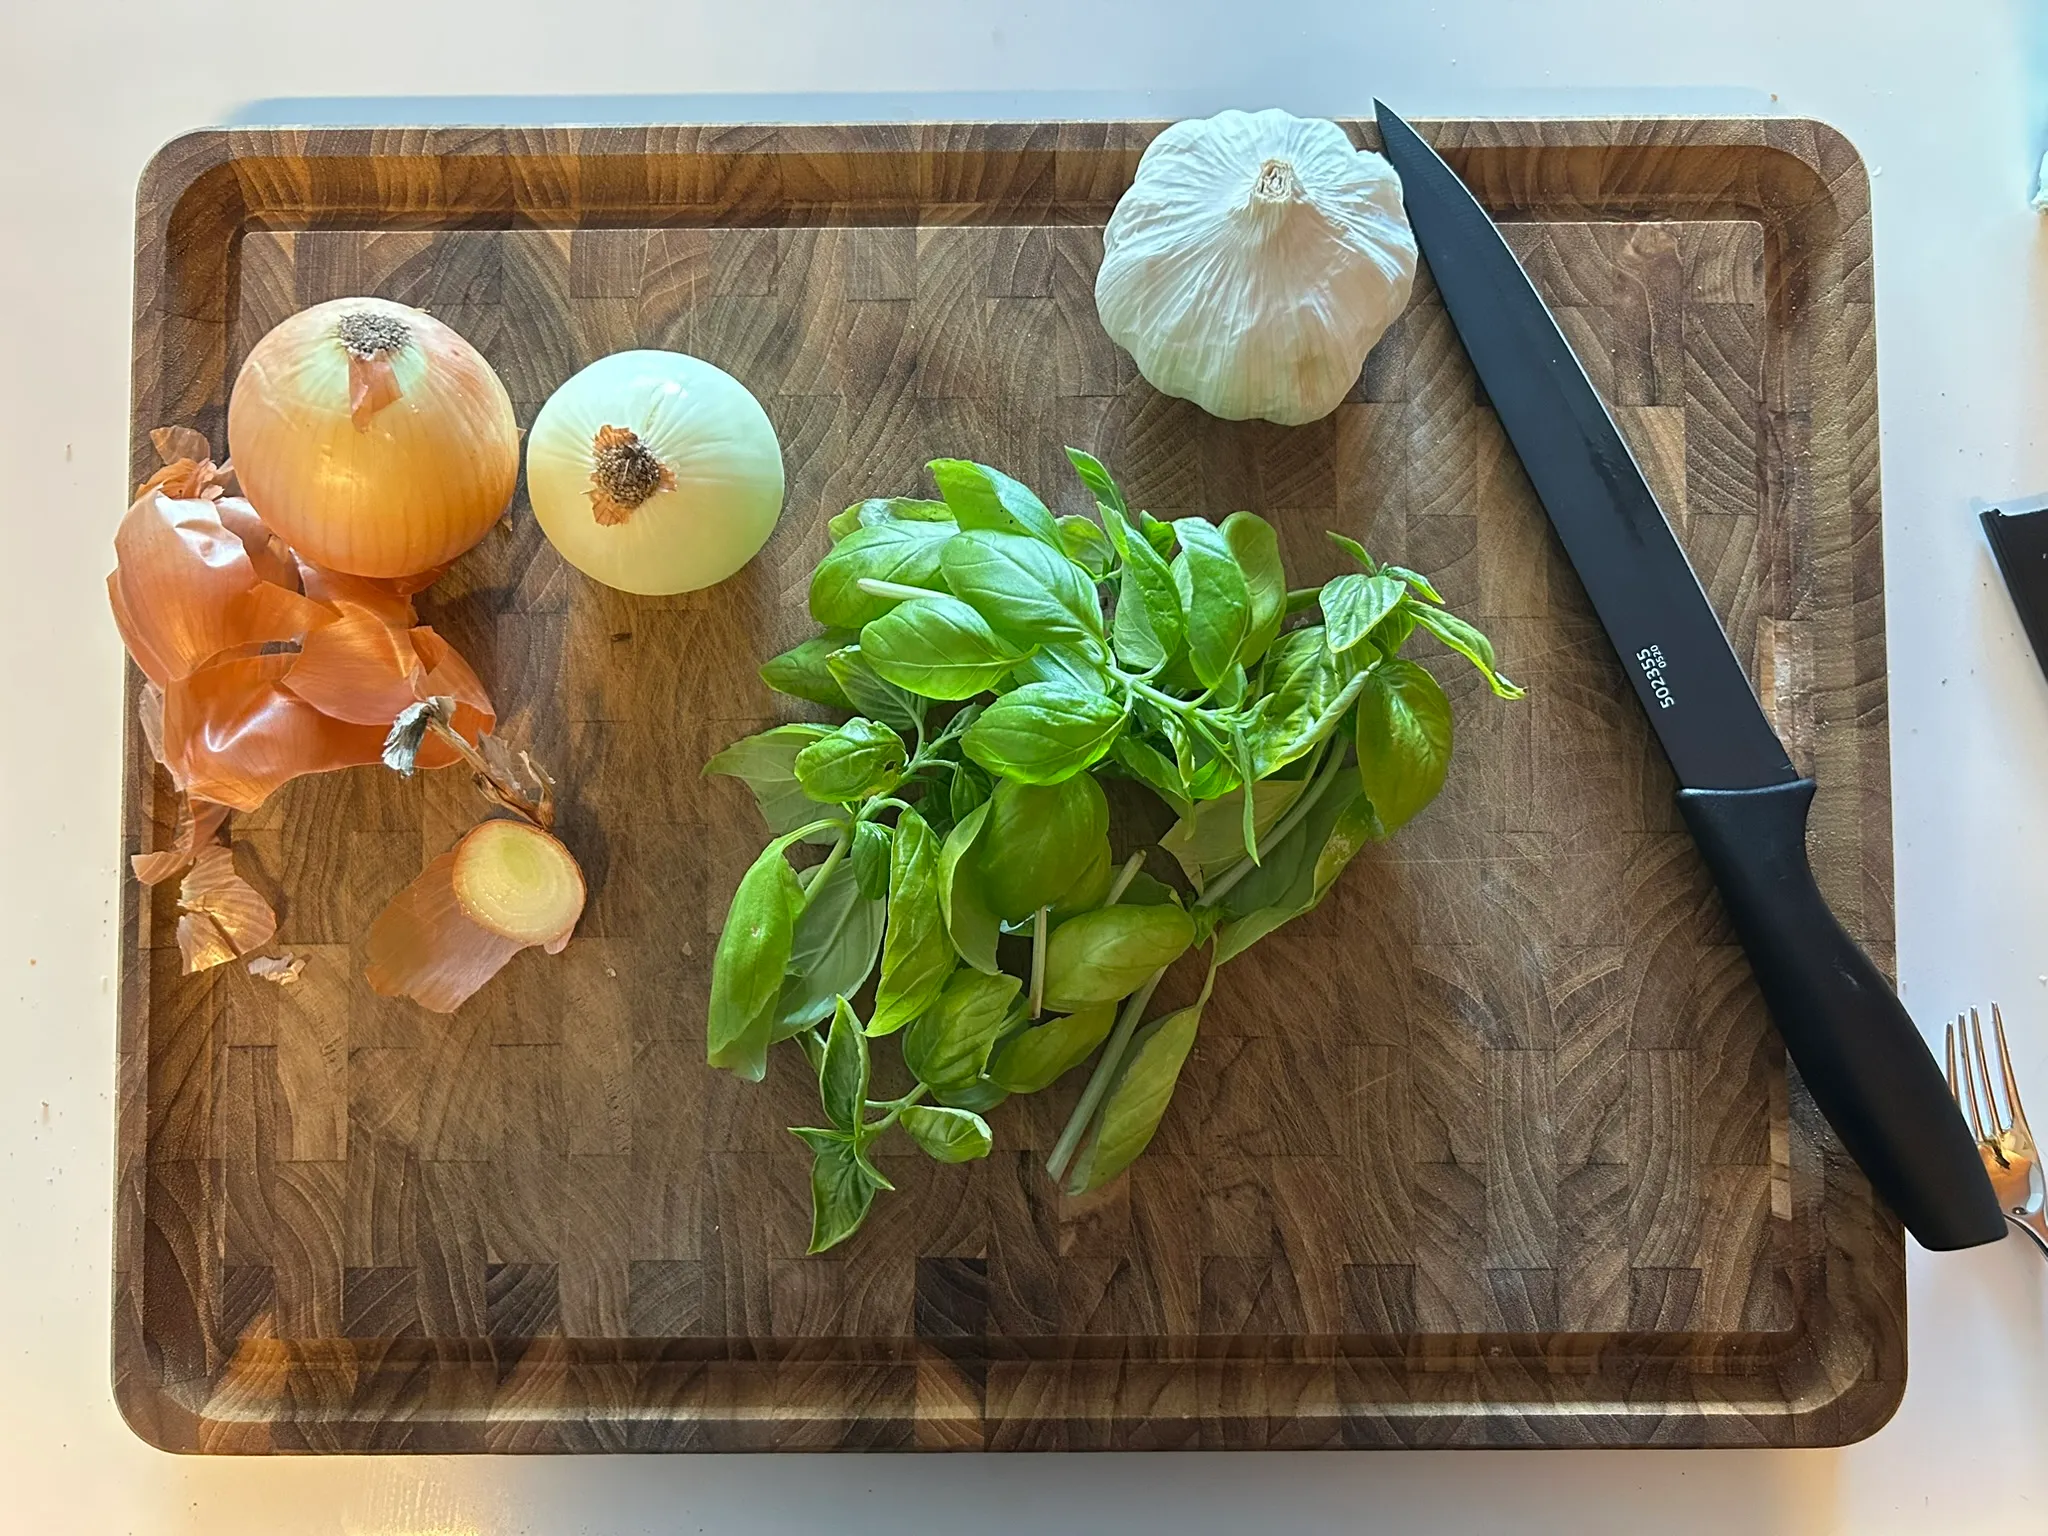
After learning a few things about caring for basil (particularly that it doesn’t like 24/7 sunshine), it quickly grew strong roots and has given us has provided many plentiful harvests. Once we were confident that the tank was thriving and stable, we also added a mint and rosemary plant to the grow-bed! Other updates include that we added two more nerite snails and a small school of 5 pygmy corydoras, which are a type of catfish that only grow about an inch long.
We also moved the tank into the corner of our apartment so that the fish would feel more secure (with walls on two sides), and decided to get a small chair to make it more comfortable to sit and watch the tank. Sitting and watching the fish has genuinely become one of our favorite activities, and it is much more entertaining and relaxing than I ever could’ve imagined.
🖼️ 2.8.25 — A Renaissance painting
It’s been a while since I posted an update, as I was traveling extensively for work, family, and friends from November through January. However, I have fantastic news! John and I were a bit nervous as there were a few 1-2 week periods where we would both be out of town and couldn’t keep an eye on the tank. However, we purchased an inexpensive automatic feeder and a timer for the grow-bed light. These did the trick, as our plants were massive upon returning to the city and the fish, snails, and shrimp were all alive and well. In fact, one of our friends gifted us a piece of cholla wood for our shrimp to explore, and they liked it so much that they had loads of babies, which are now about the size of a grain of rice.
We realized that our tank was producing more than enough nutrients for the mint and basil, so we decided to look into getting aquatic plants. This also aligned with our intial goal of to creating a miniature ecosystem as an art piece modeling the relationship between nature and agriculture (as plastic plants from Amazon are not very natural). Coincidentally, throughout this process I learned that a relative of mine also lives in the city and has a passion for planted tanks. He was was kind enough to share loads of aquatic plant clippings with us, which we used to create a really neat jungle landscape that our fish, shrimp, and snails love.
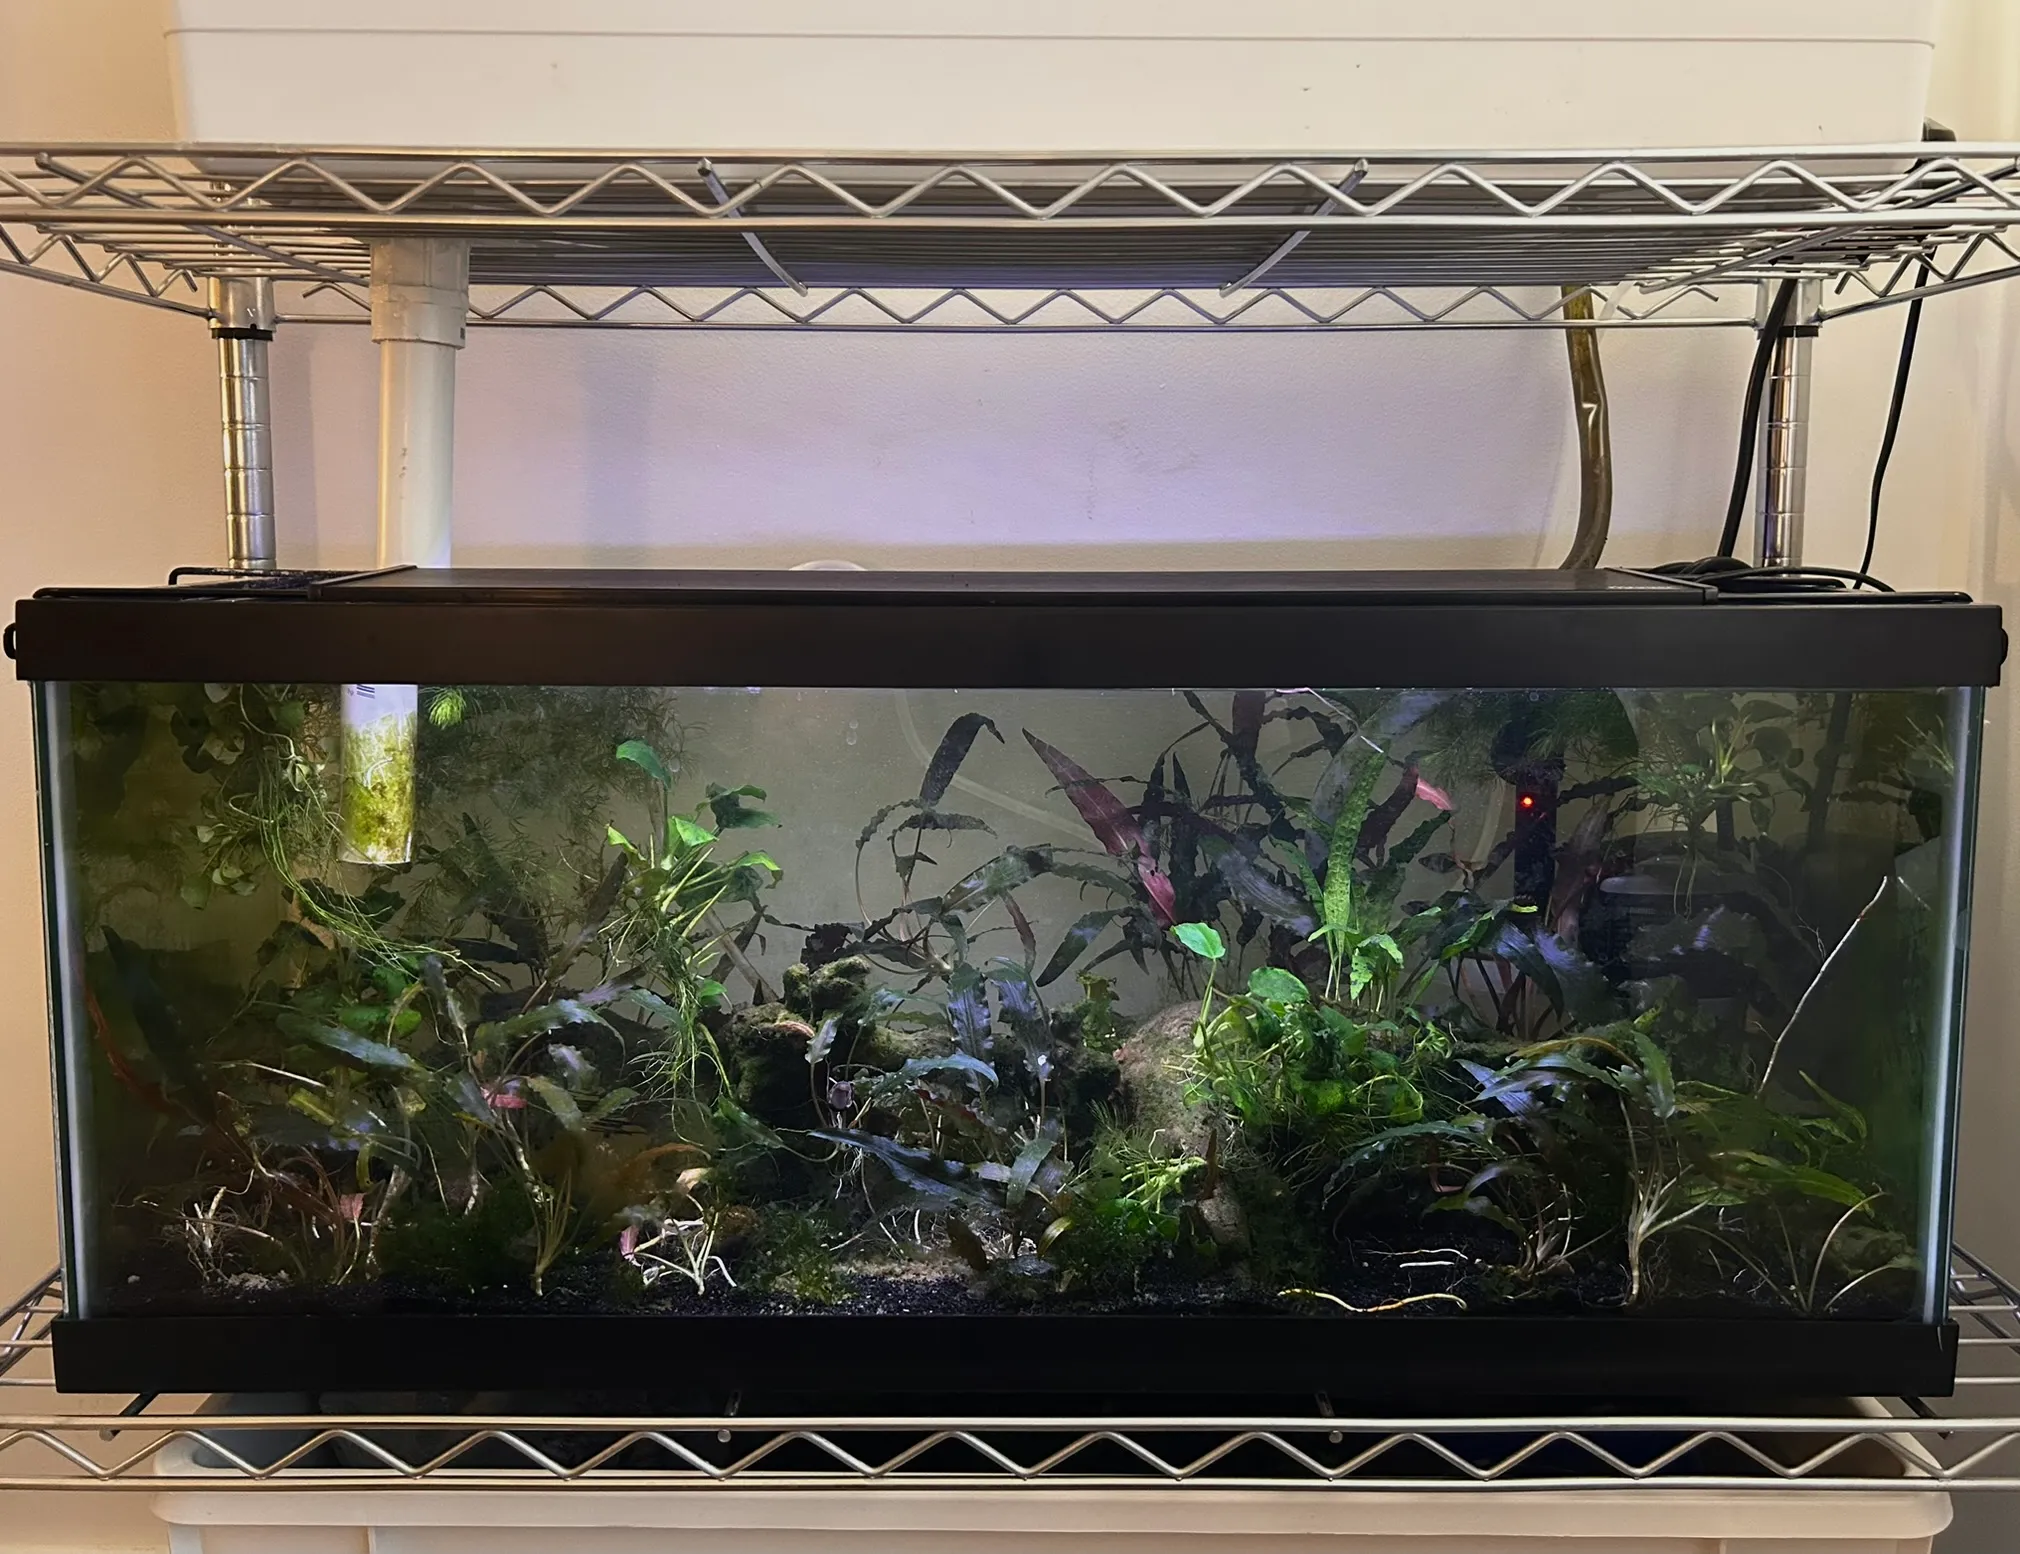
At this point, I truly believe we have reached our goals of creating a functional small-scale aquaponics system, and a beautiful piece of art. Simply observing the tank has become a cherished break throughout our busy days, and as one of my friends put it, feels like “looking at a Renaissance painting.” We have also gotten so much interest from friends, family, and coworkers who want to setup similar systems of their own to get a bit of nature in their small city apartments.
💡 Future steps
As our tank evolves, I’ll continue posting updates on new plants, animals, and lessons learned. As part of my work for the \Art x Cornell Tech microgrant, I have also been planning how to best use technology to share the experience of observing the tank online. Now that we have aquatic plants and a proper ecosystem, I plan to take images, videos, and scans of the system to create a digital piece showcasing it’s evolution over time, so stay tuned!